07
System Management
Update software or control the system.
System Management Menu
- In the main menu, click [] > [System Management]The System Management screen appears.
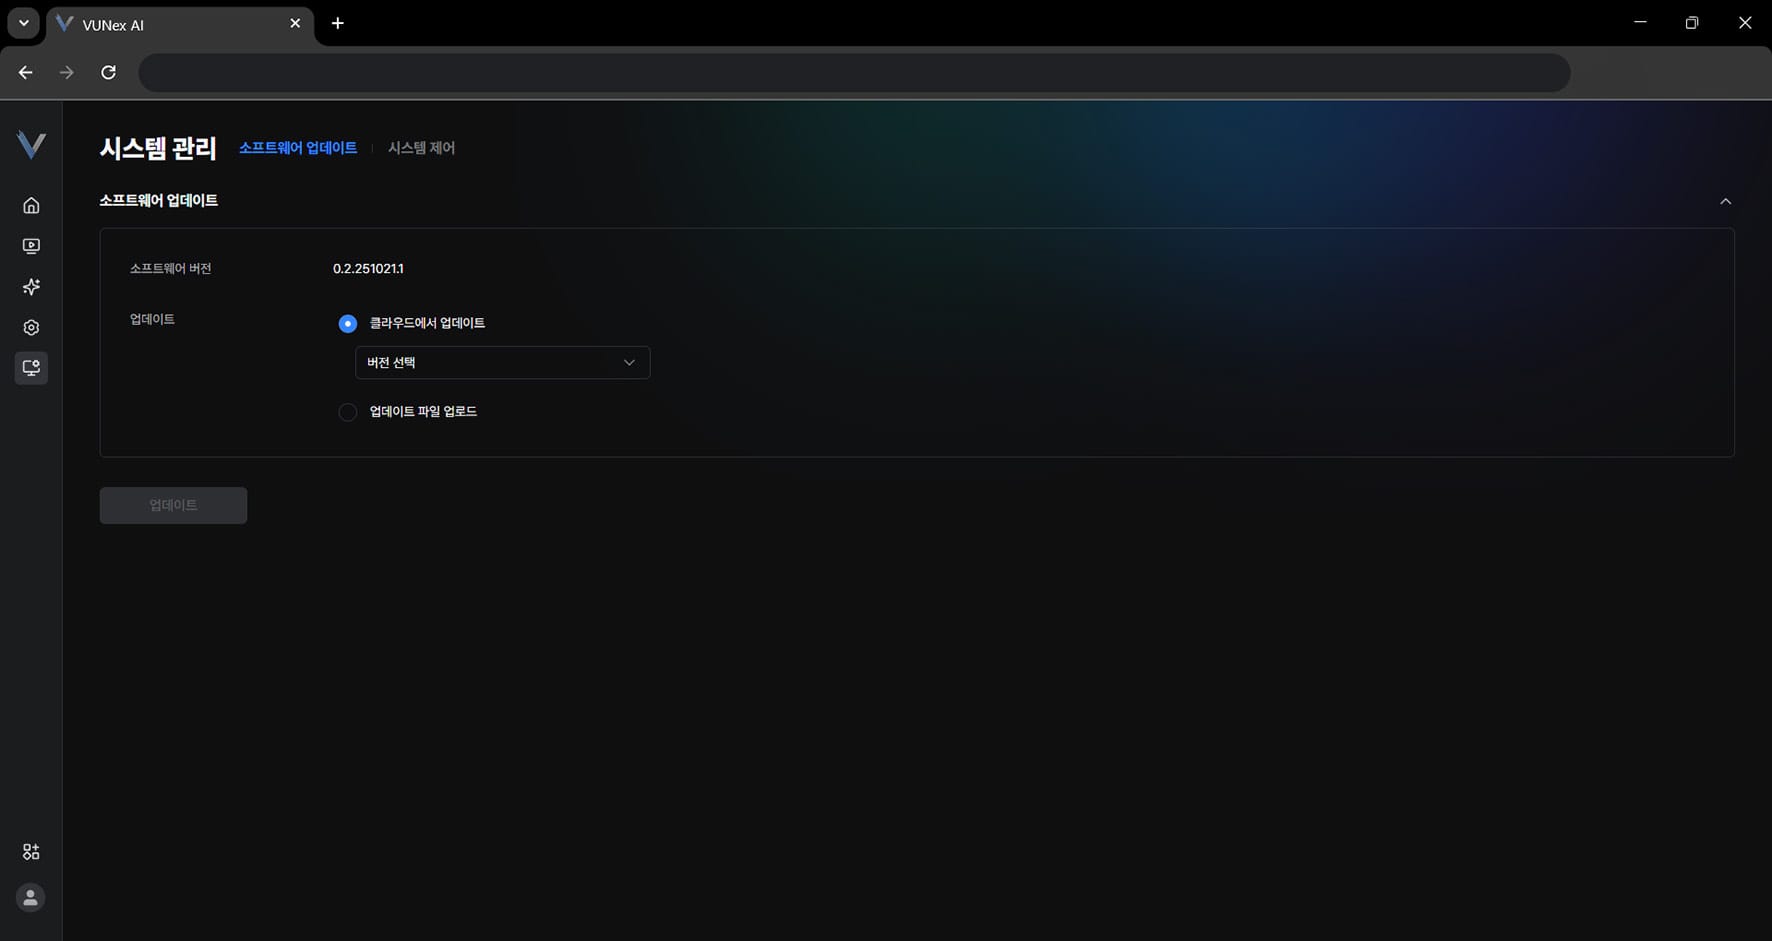 Figure 7-1. System Management Screen
 - Click the item you want[Software Update]: updates the software.
- [Update from cloud]: select an update version from the cloud.
- [Upload update file]: upload an update file.
- [MAC address]: shows the MAC address.
- [Bearer token (HTTP API)]: shows the authentication token.
- [Import/Export Settings]: Exports device settings to a file or imports them from a file.
- [Factory reset]: resets the system.
- [Reboot system]: restarts the system.
- [Shut down system]: shuts the system down.
Updating the Software
The software is updated.
- In the main menu, click [] > [System Management] > [Software Update]
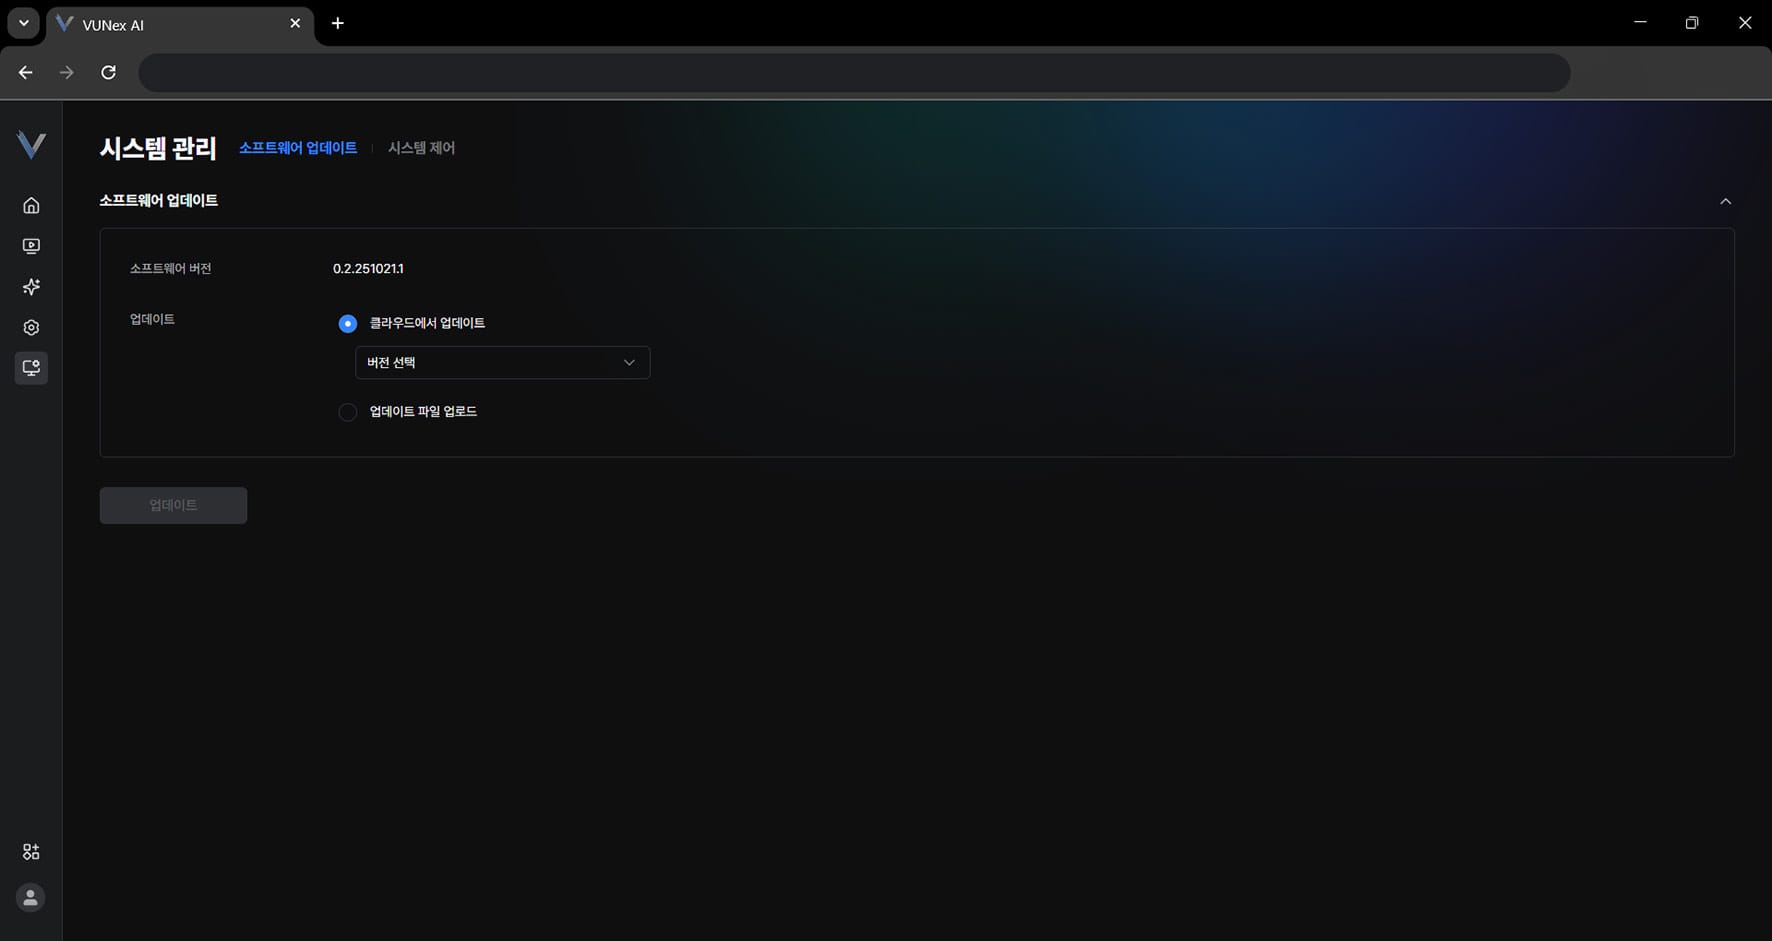 Figure 7-2. Software Update
 - Select the item you want[Update from cloud]: select an update version from the cloud. [Upload update file]: upload an update file.
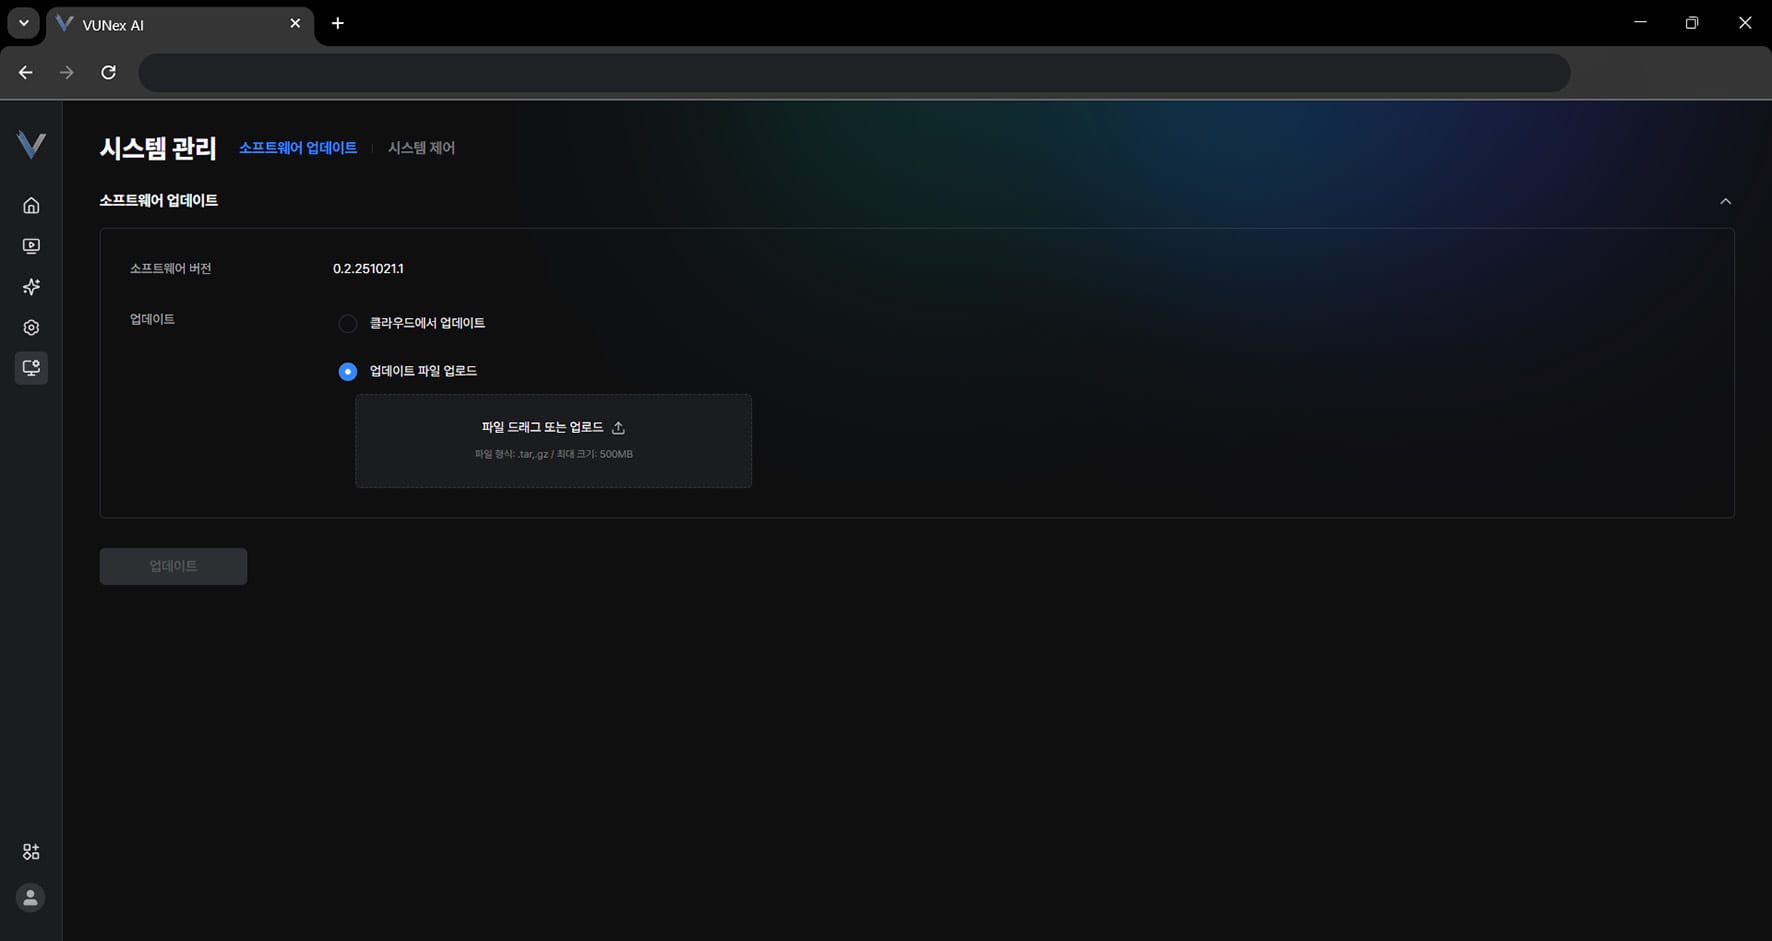 Figure 7-3. Choosing the Update Method
 - Click [Update]The software is updated.
Exporting Settings
Export the device settings to a file so you can apply them to another device.
- In the main menu, click [] > [System Management] > [System Control]
- Click [Import/Export settings] > [Export]
- Enter the [File password]The password must be at least 4 characters and is required when you import the file later.
- Click [Export]
Caution
The exported file can contain sensitive information such as device credentials.
Always set a file password to prevent unauthorized access, and keep the password safe.
Exporting settings is recorded in the system log.
Importing Settings
Restore device settings by loading an exported settings file.
- In the main menu, click [] > [System Management] > [System Control]
- Click [Import/Export settings] > [Import]
- Upload the backup file and enter the [File password]
- Click [OK]
- Check the restore resultRestoration runs in order — devices, schedule presets, AI app check, custom action types, AI service and event settings, ROI settings and AI engine settings — and the number of succeeded, skipped and failed items is shown for each.
Note
Settings with the same name are overwritten.
Backups created on a different software version can also be imported, but items whose structure changed may fail to restore.
Device registration and the AI app check can take a while, so wait until the restore finishes.
Settings for AI apps that are not installed are skipped, so install the required apps first and import again.
Rebooting and Shutting Down the System
Restart the device or shut it down safely.
- In the main menu, click [] > [System Management] > [System Control]
- Click [Reboot System] > [Reboot] or [Shut Down System] > [Shut Down]
- Click [OK]
Caution
The device is temporarily disconnected while rebooting; do not close the browser and wait.
After shutdown you cannot access the device until it is powered on again.
Reboot and shutdown requests are recorded in the system log.
Performing a Factory Reset
All data is returned to the state right after installation.
- In the main menu, click [] > [System Management] > [System Control]
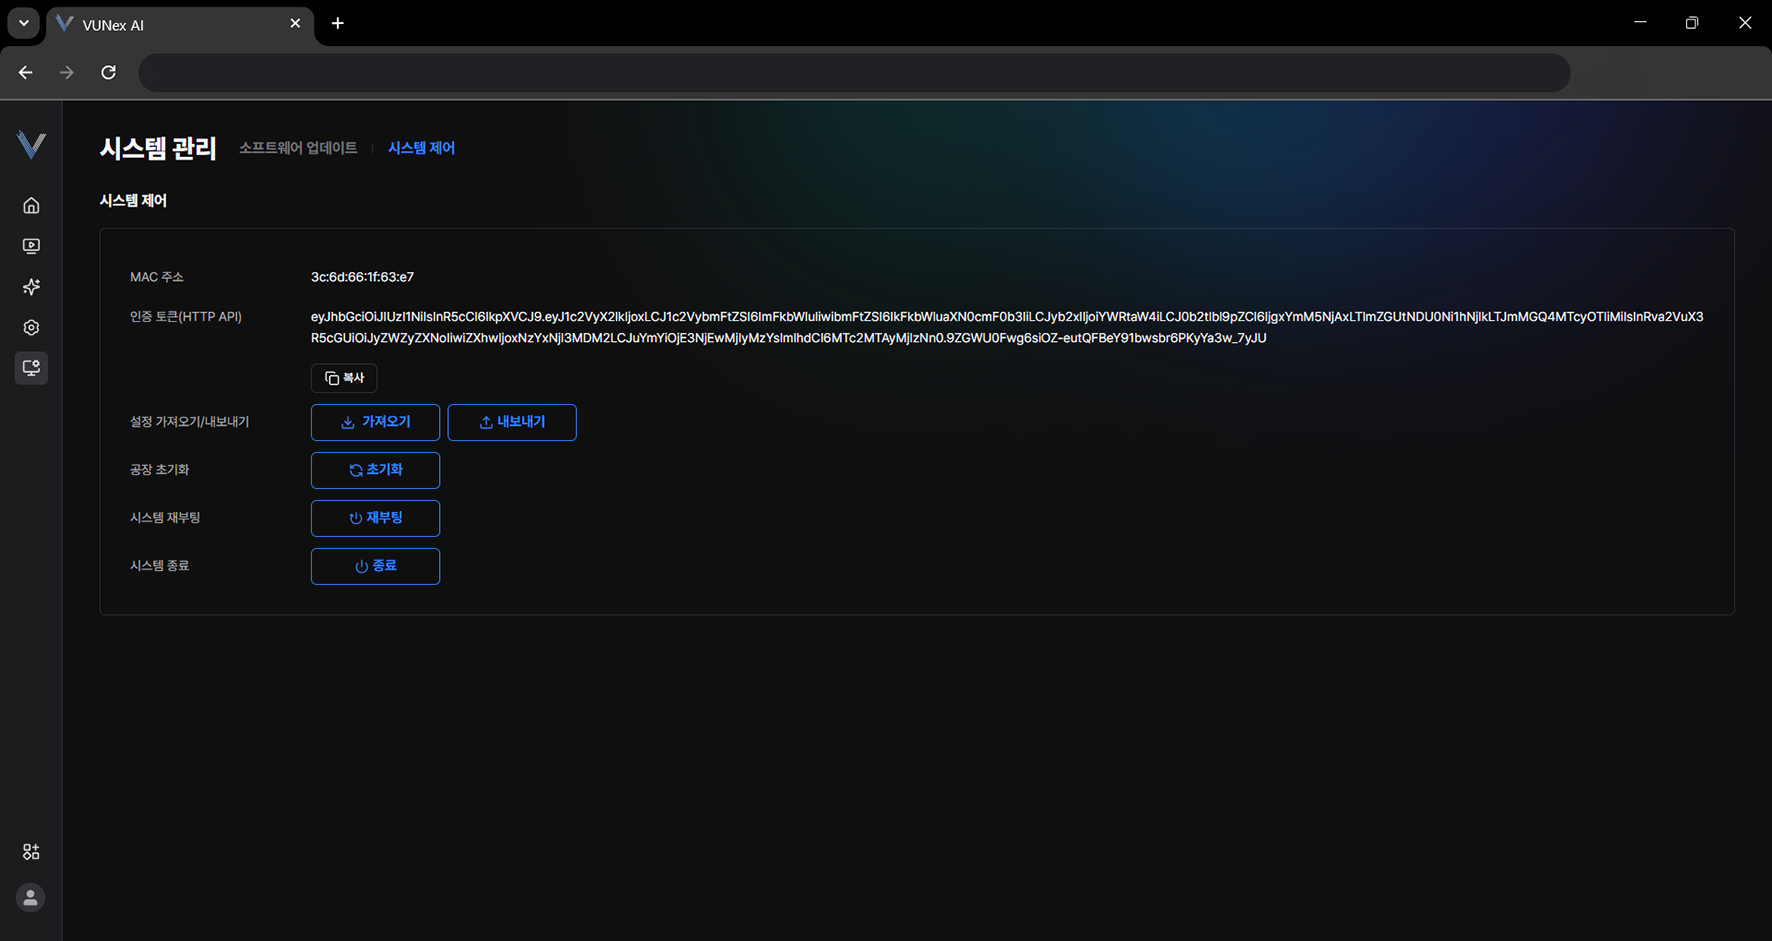 Figure 7-4. Factory Reset
 - Click [Factory reset] > [Reset]
- Enter the [Password]
- Click [Reset]All data is returned to the state right after installation.
Warning
Performing a factory reset deletes all settings and data. Be sure to back up important data first.
Setting the Date and Time
Set the time zone of the device and how the time is synchronized.
- In the main menu, click [] > [Timezone]
- Select the [Timezone]You can find a time zone by typing a region name in the search box.
- In [Sync Mode], select [NTP (auto)] or [Manual]If you select [Manual], enter the time directly in [Set Date & Time].
- Click [Apply]
Note
[Current time] shows the time currently applied to the device.
Changing the time zone also changes the time reference shown for recorded video and logs.
Time zone changes are recorded in the system log.
Viewing the Event Log
- [Date / Time]: when the event occurred
- [Device]: the camera where the event occurred
- [Event], [Action], [Action type]: the event that occurred and the action that ran
- [Result]: the action result ([Success] or [Failed])
- In the main menu, click [] > [Logs]
- Click [Event]
- Set the period, [Select device] and [Select event type]
- Check the log list
Note
The filter lists are built from the actual log records, so you can also select past logs of devices or custom events that have already been deleted.
Use [Rows per page] to change how many entries are shown at once.
The log retention period is configured in [] > [Storage].
Viewing the System Log
Check the record of operations performed on the system, such as logins, setting changes and software updates.
- In the main menu, click [] > [Logs]
- Click [System]
- Set the period and [Select log type]
- Check [Message], [OS & Browser] and [Actor]
Note
Installation, deletion and redeployment of event apps are also recorded in the system log, and operations performed remotely from the cloud are marked separately.
Log exports, settings exports, time zone changes and system reboots or shutdowns are recorded as well.
Exporting Logs
Download the logs you queried as a CSV file.
- In the main menu, click [] > [Logs]
- Select [Event] or [System], then set the query conditions
- Click [Export]
Note
Logs can be exported for a maximum of 31 days at a time.
Times in the exported file are shown in the local time of the device.
Log downloads are recorded in the system log.
Configuring the Network
Set the IP address and DNS of the device.
- In the main menu, click [] > [Network]
- Select the [Network profile] of the network to configureThe cable state is shown as [Connected] or [Disconnected], and the interface ID and MAC address are shown as well.
- In [IP mode], select [DHCP (auto)] or [Static IP (manual)]
- For [Static IP (manual)], enter the [IP address], [Subnet mask] and [Gateway]Click [Check availability] to verify that the IP address is not already used by another device. The gateway must be in the same subnet as the IP address.
- Select the [DNS mode] and, for [Manual], enter the [DNS server]
- Click [Apply], then click [OK]
Caution
Changing the network settings ends the current connection. Save the settings and reconnect using the new address.
A profile can be assigned to only one network, and the same IP address cannot be used on different networks.
Make sure the settings are correct before applying them; incorrect settings can make the device unreachable.