03
Playback
Check recorded video and menu.
Viewing Recorded Video
Check the recorded video.
- In the main menu, click [] > [Recorded Video]The recorded video screen appears.
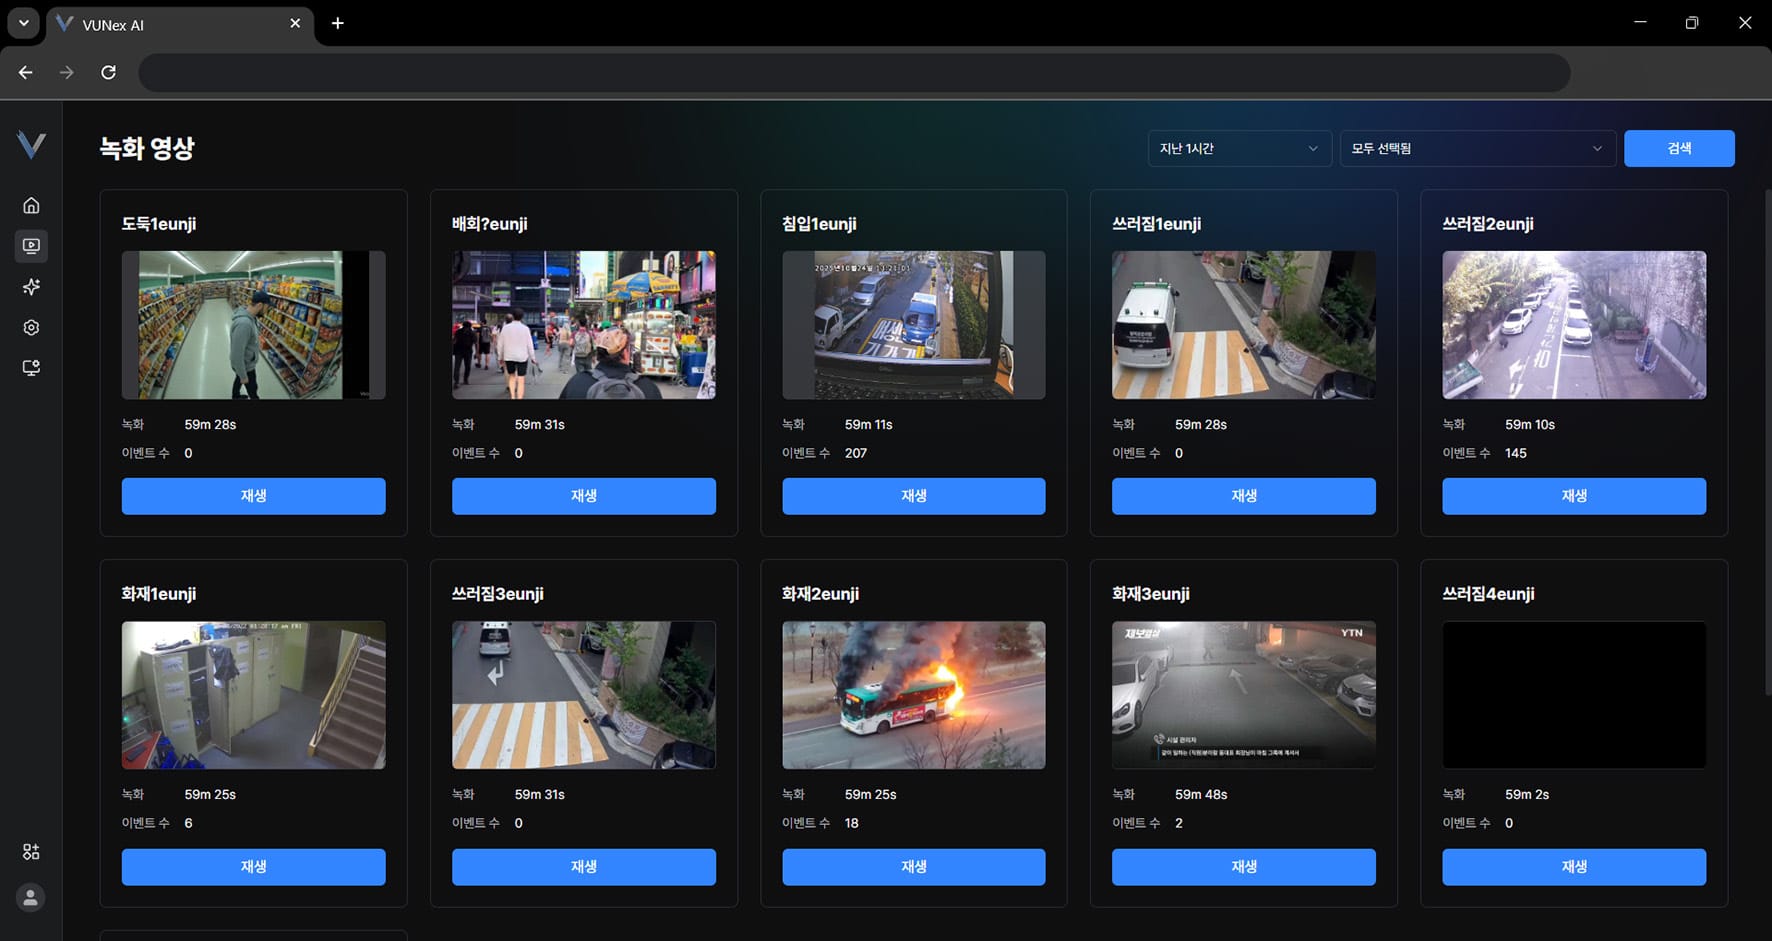 Figure 3-1. Recorded Video Screen
 - Click [Playback]
- Select a video and double-click itThe video is maximized.
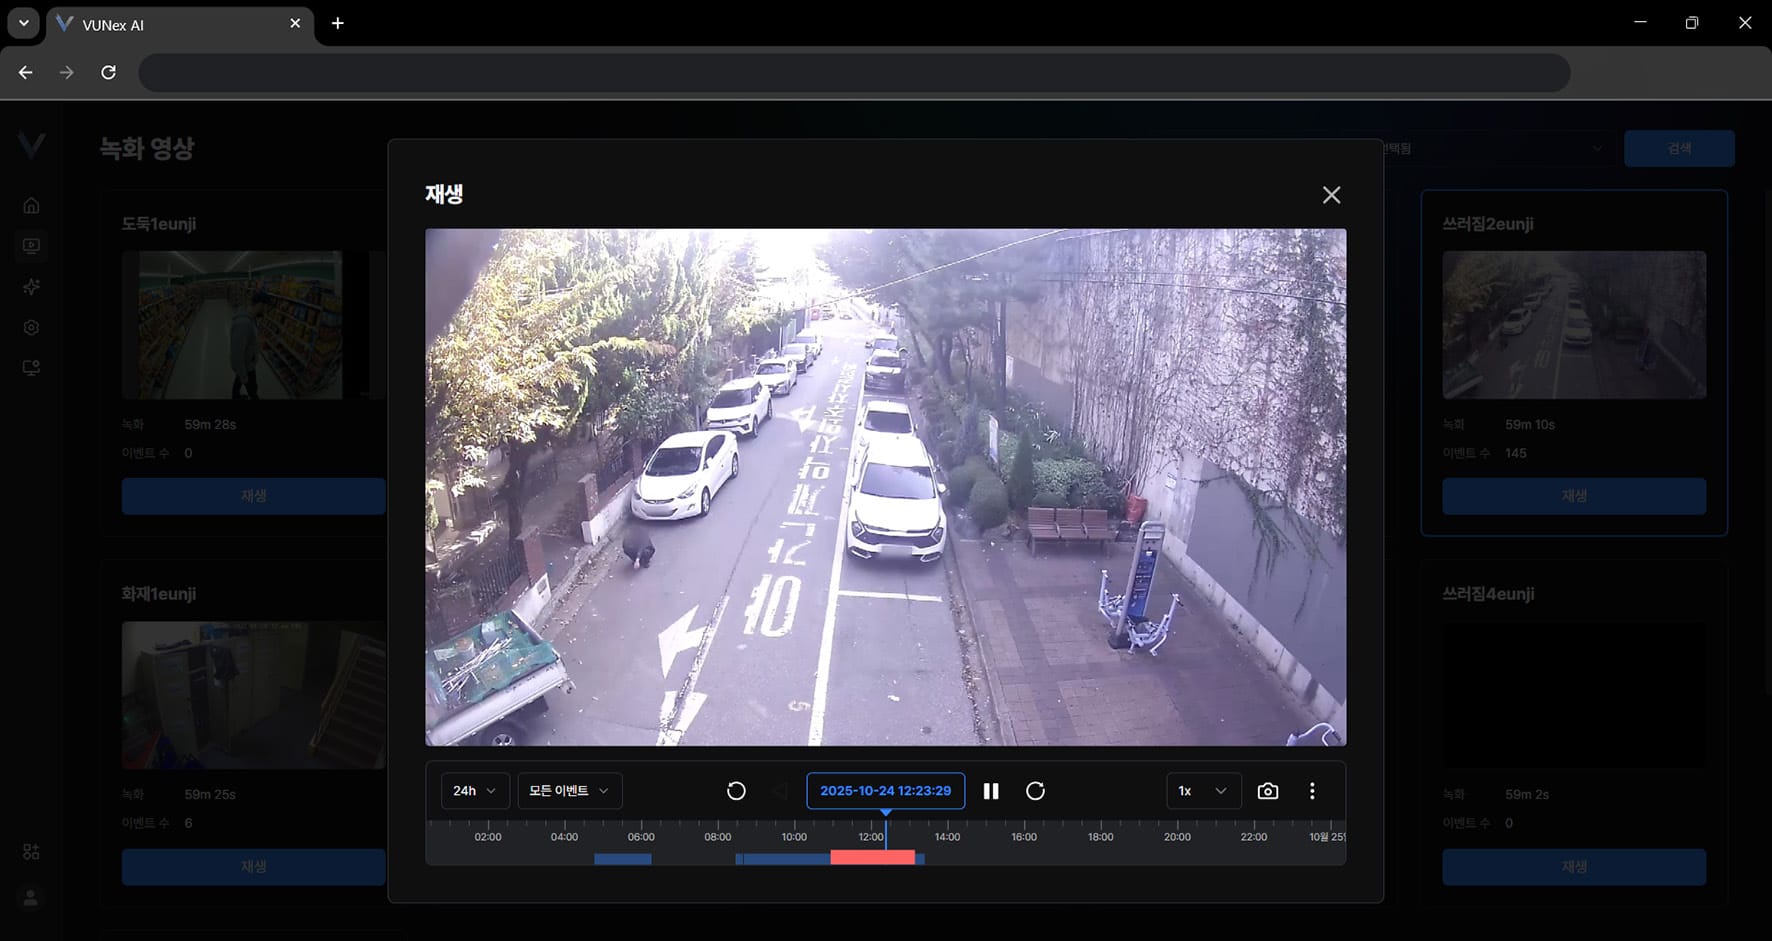 Figure 3-2. Recorded Video Playback
 - Check the recorded video
Viewing Recorded Video Options
Check the recorded video options.
- In the main menu, click [] > [Recorded Video]The recorded video screen appears.
- Click [Playback]
- Select a video and double-click itThe video is maximized.
- Right-click on the videoThe pop-up menu appears.
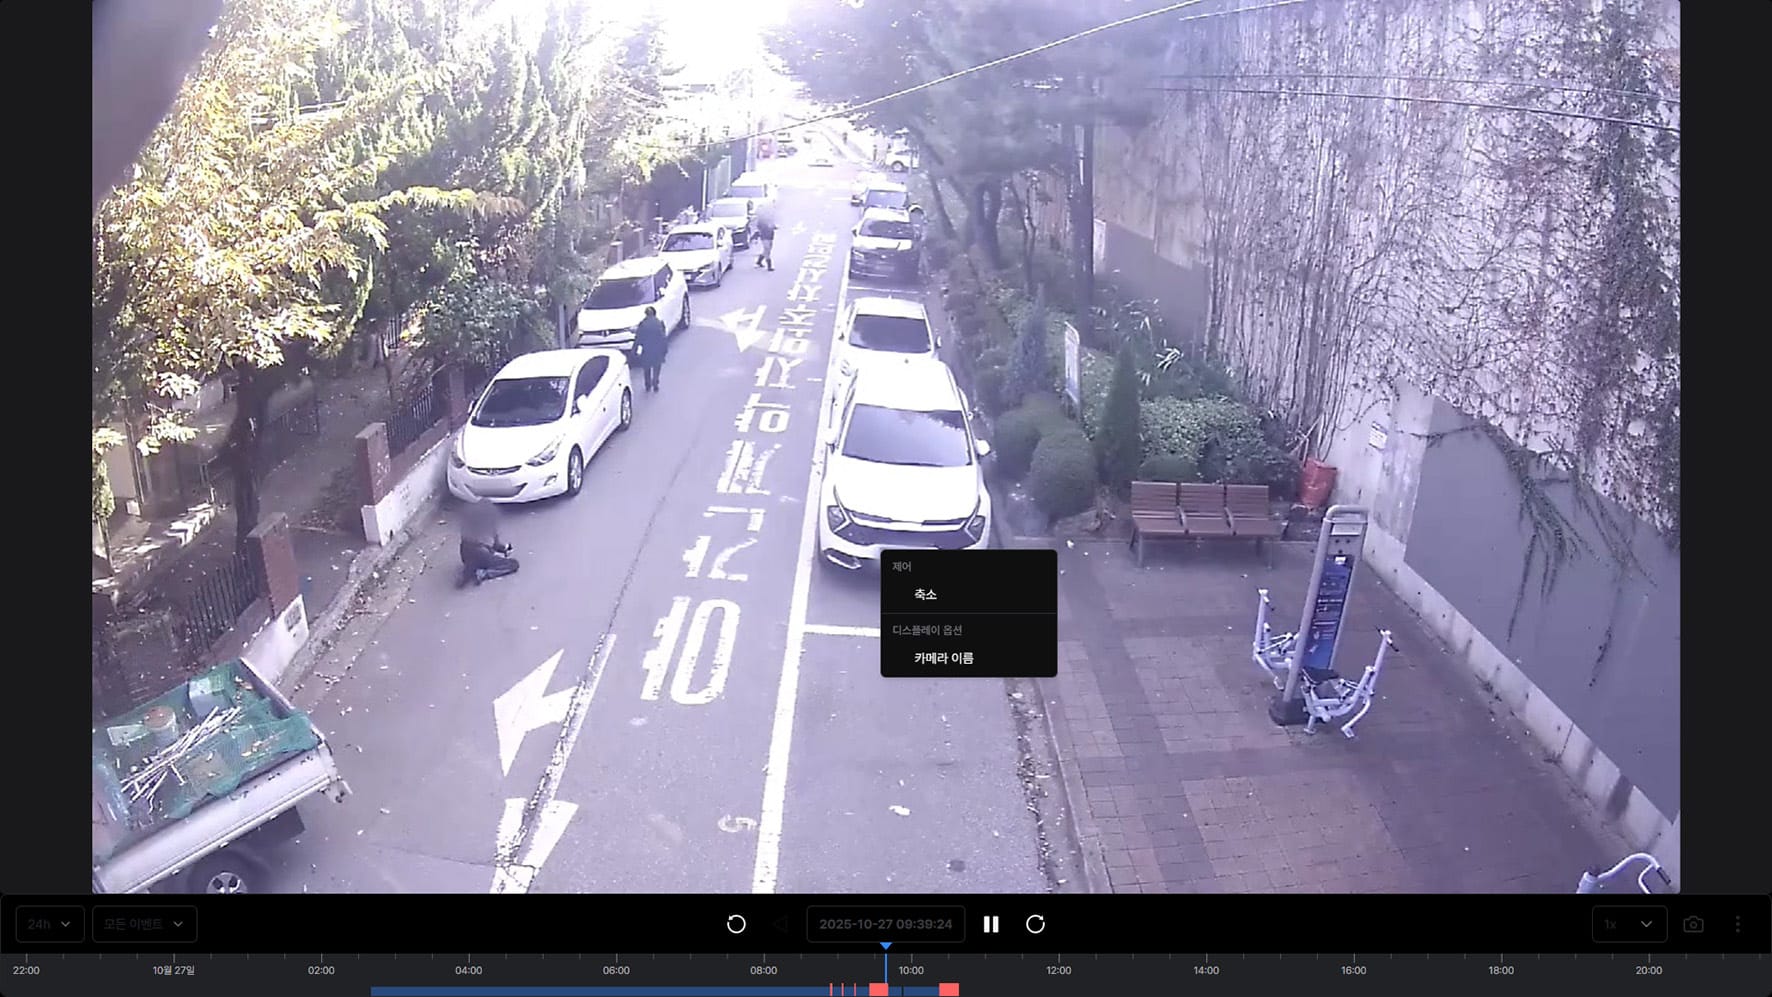 Figure 3-3. Recorded Video Options Menu
 - Click the item you want[Minimize]: minimizes the video. [Camera name]: shows the camera name on the video.
Viewing the Recorded Video Menu
The menu is shown.
- In the main menu, click [] > [Recorded Video]The recorded video screen appears.
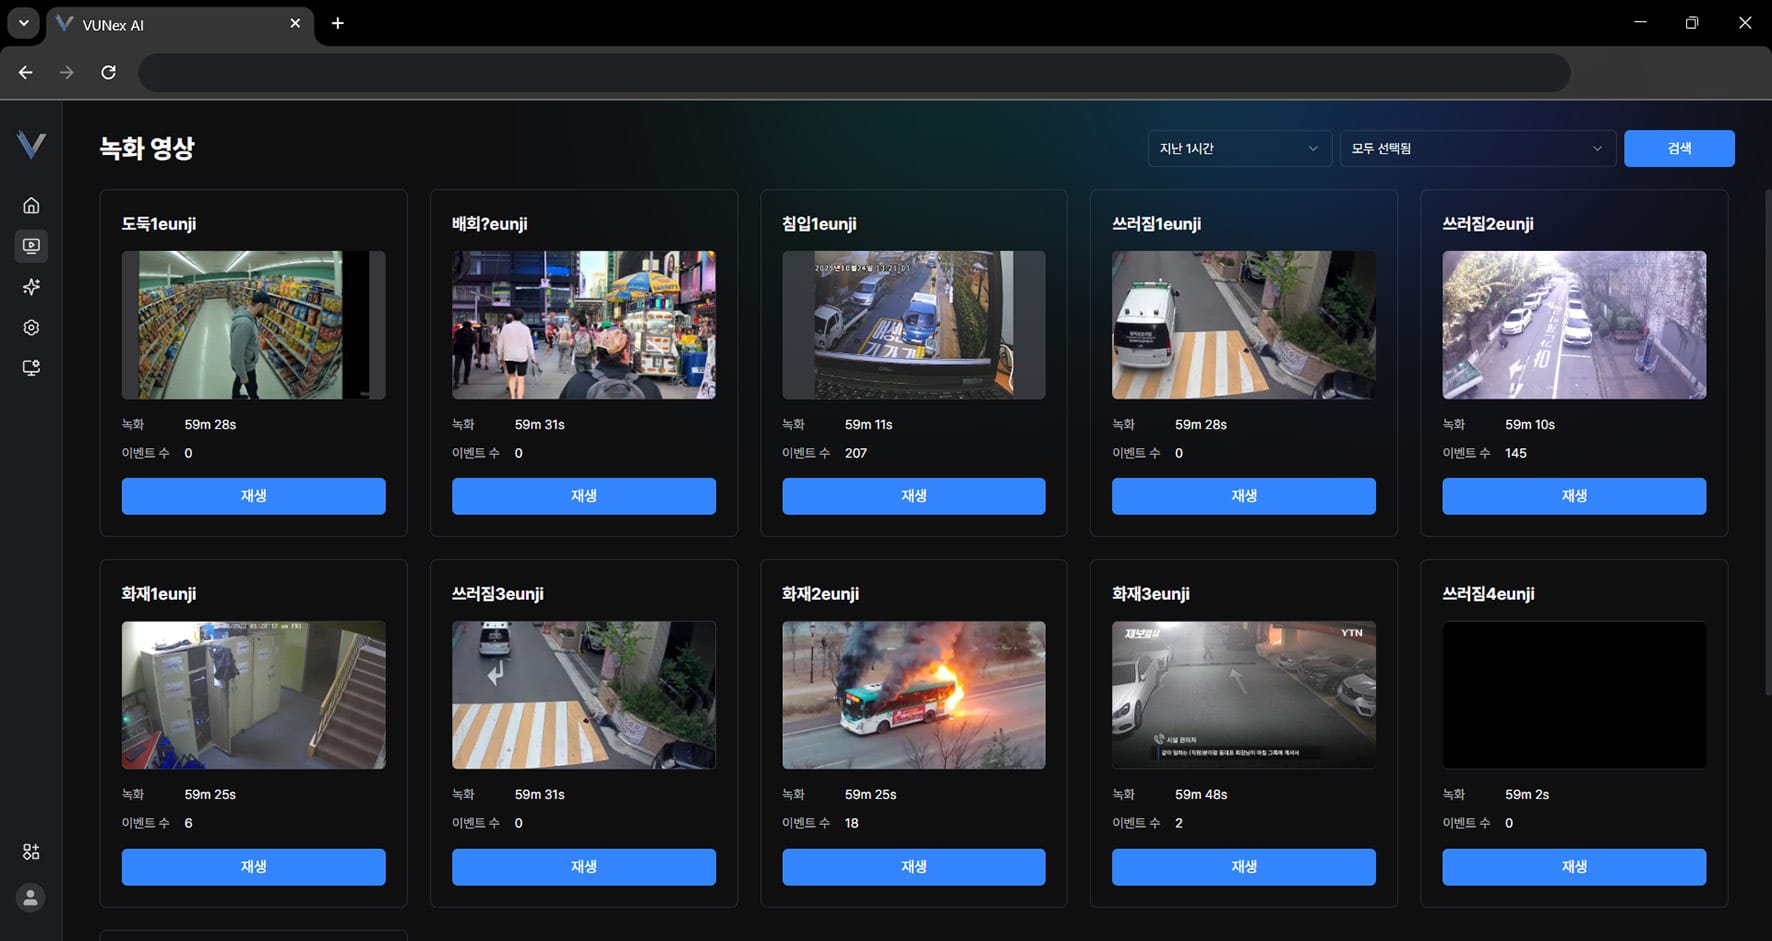 Figure 3-4. Recorded Video Menu
 - Click the item you want[Recording]: shows the recording time. [Event count]: shows the number of events. [Playback]: check the recorded video.
- Click [Playback]
- Right-click on the videoThe pop-up menu appears.
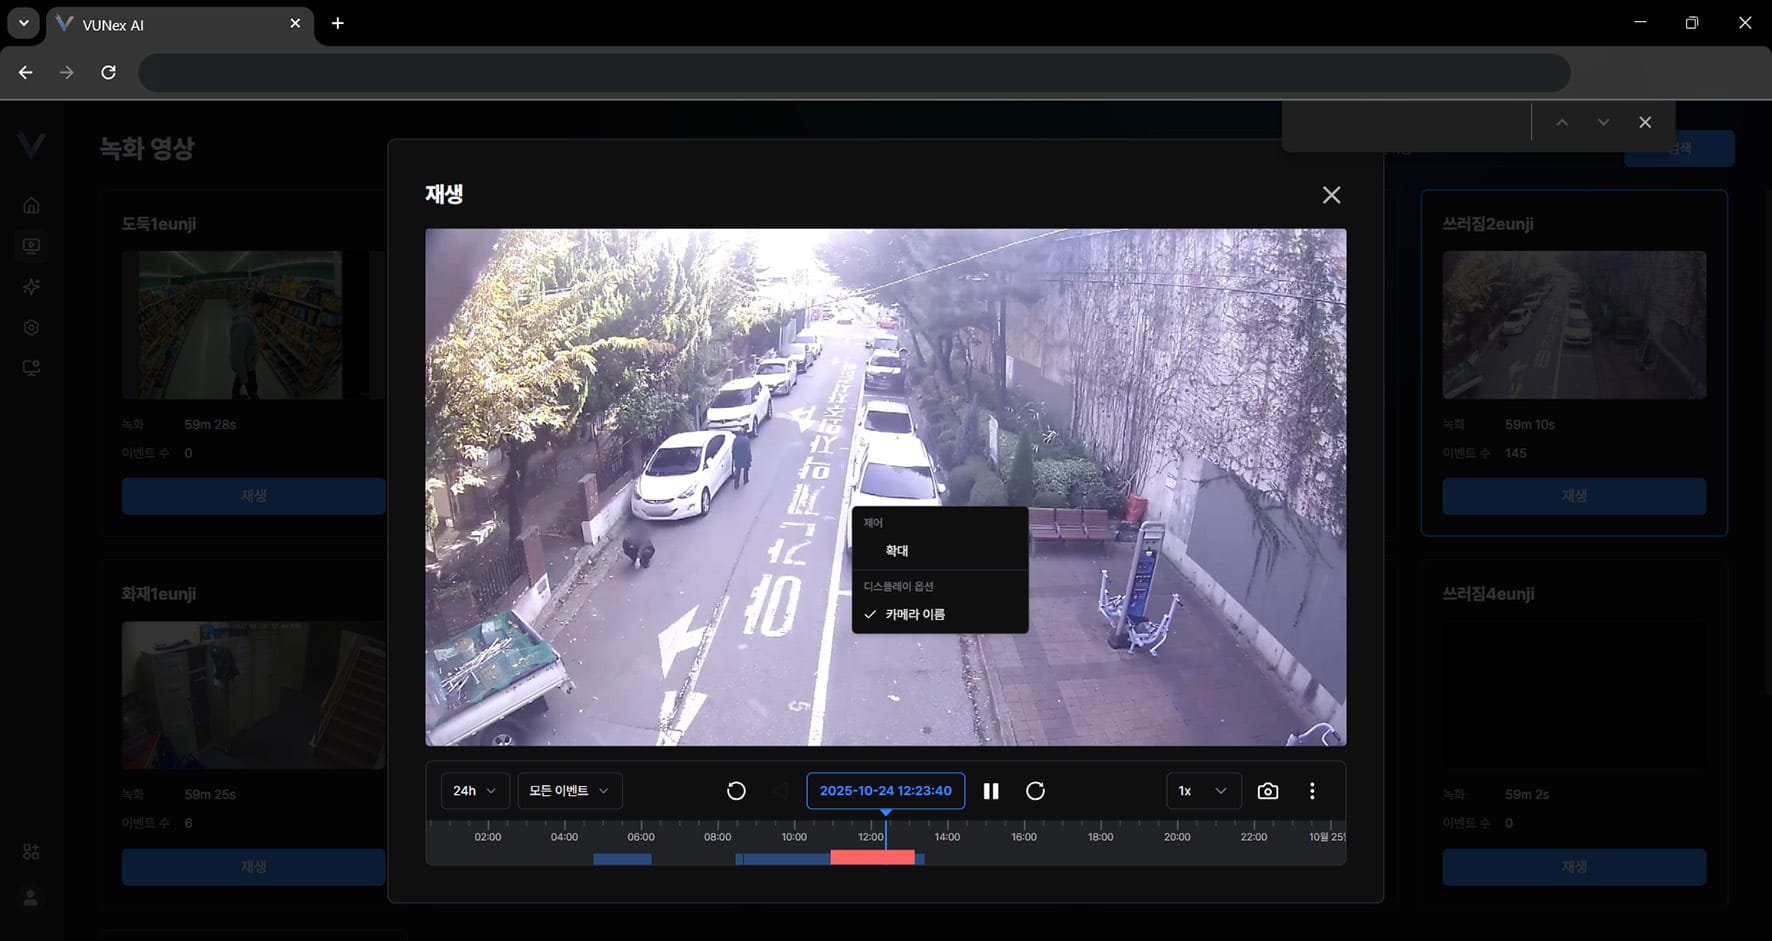 Figure 3-5. Recorded Video Pop-up Menu
 - Click the item you want[Maximize]: maximizes the video. [Camera name]: shows the camera name on the video.
Note
The recording time and the number of events that occurred are shown according to the search conditions you set.
Viewing the Playback Screen Layout
The screen layout is shown.
Note
[Similar Person Search] requires the [Similar Person Search] setting.
In the main menu, click [] > [AI Service] > [Search] > [Similar Person Search] to configure the similar person search mode.
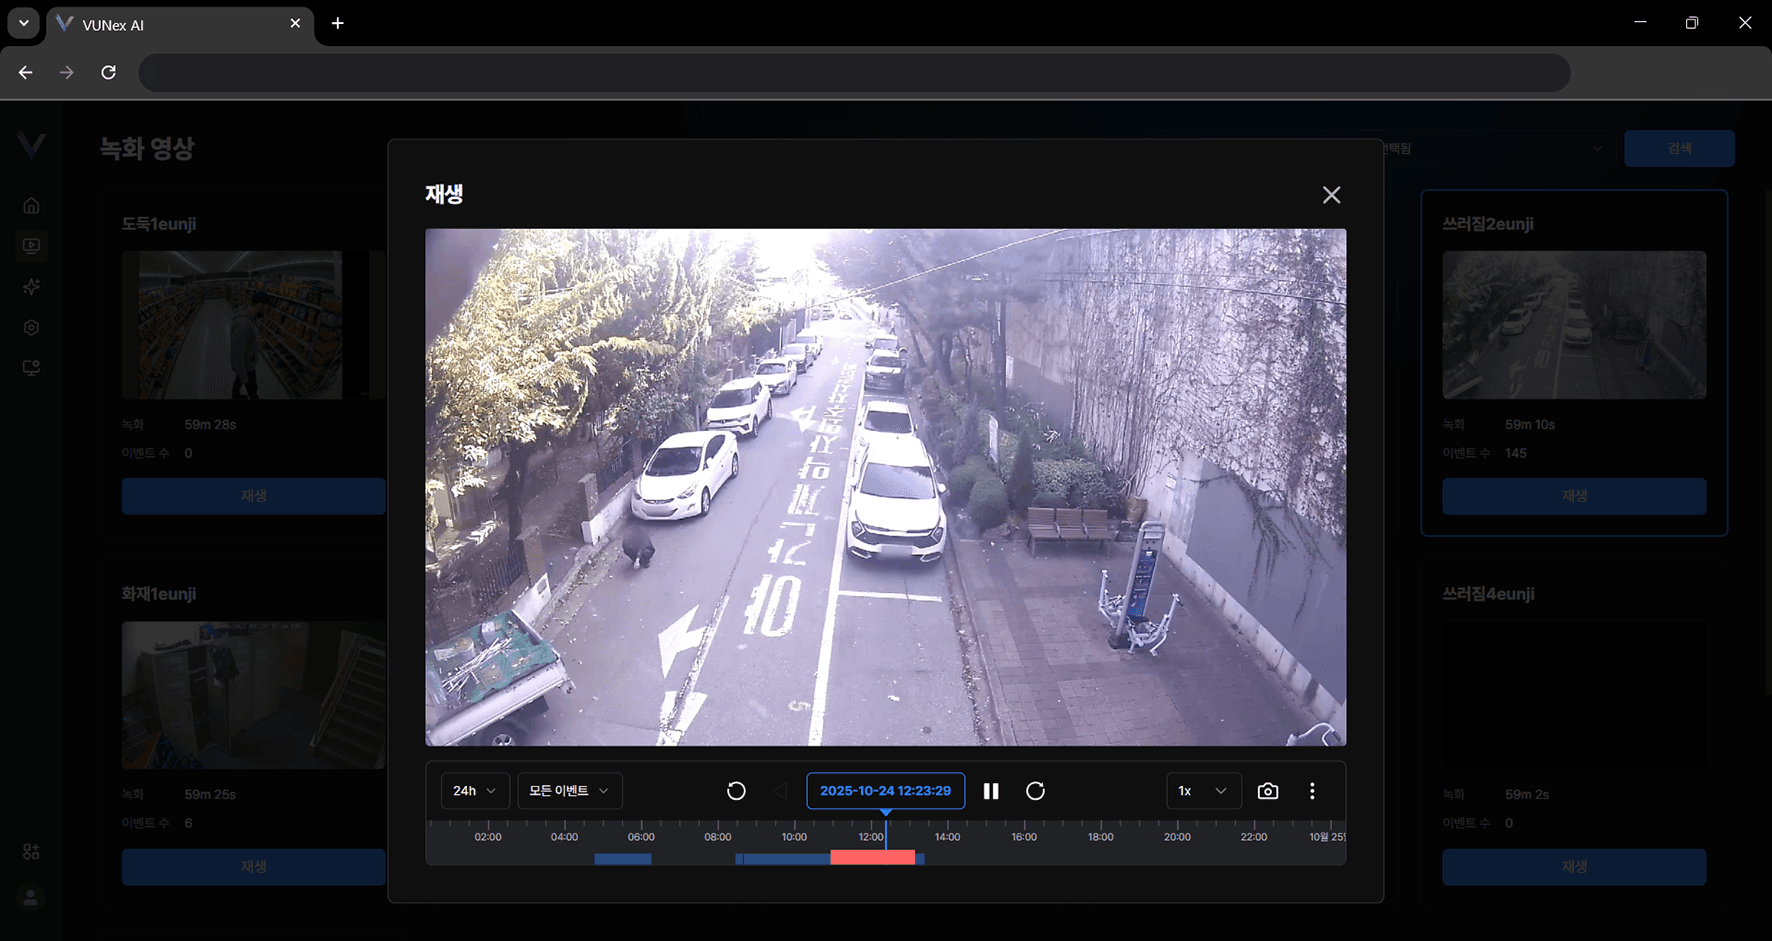
Figure 3-6. Playback Screen Layout
| No. | Item | Description |
|---|---|---|
| ❶ | Time span | Shows the recording time span in steps. The timeline tick interval changes with the step. |
| ❷ | Event filter | Shows the timeline according to events. |
| ❸ | Back 5 seconds | Moves back 5 seconds. |
| ❹ | Date and time | Shows the date and time. Select a date and time to search video. |
| ❺ | Play / Pause | Plays or pauses the video. |
| ❻ | Forward 5 seconds | Moves forward 5 seconds. |
| ❼ | Speed | Sets the playback speed. |
| ❾ | Similar person search | Searches for images similar to the person selected in the video. |
| ❿ | Timeline | Shows the recorded video timeline. |
| ⓫ | Current playback position | Shows the current playback position. |
Checking Recorded Video by Camera
Check the recorded video for each camera.
- In the main menu, click [] > [Recorded Video]The recorded video screen appears.
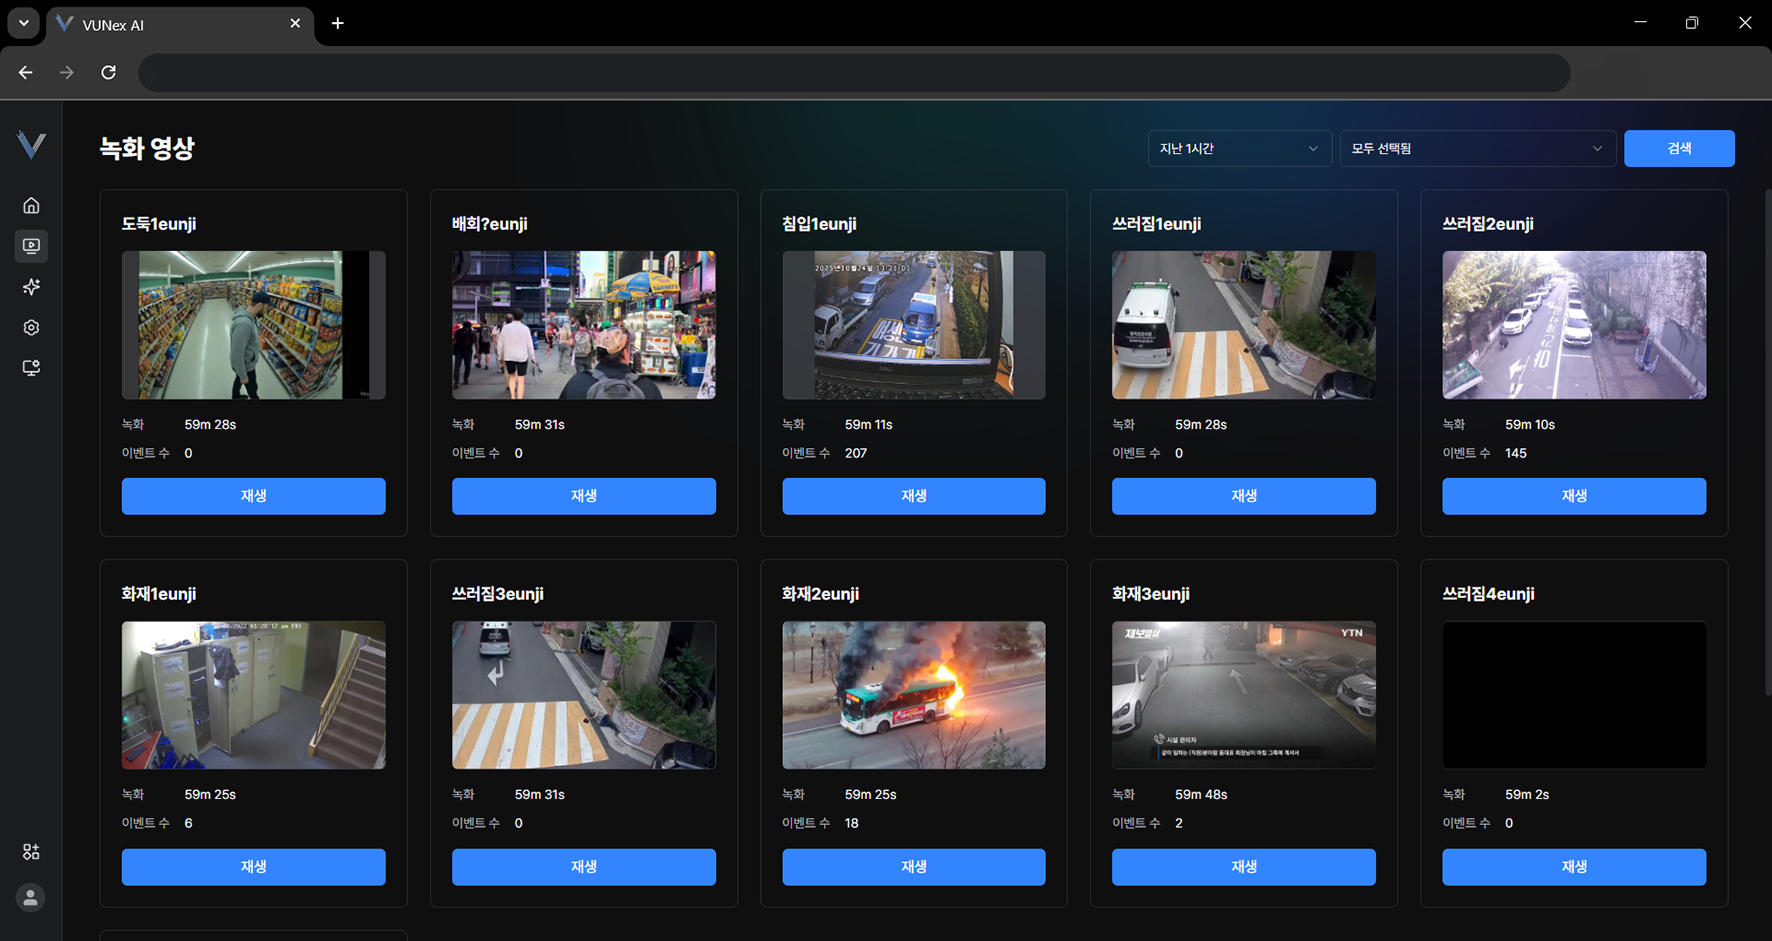 Figure 3-7. Searching Recorded Video by Camera
 - Click the area marked with a dotted line
- Set the conditions and click [Search]
- Check the recorded video
Note
The recording time and the number of events that occurred are shown according to the search conditions you set.
Checking Recorded Video by Search Period
Check the recorded video by search period.
- In the main menu, click [] > [Recorded Video]The recorded video screen appears.
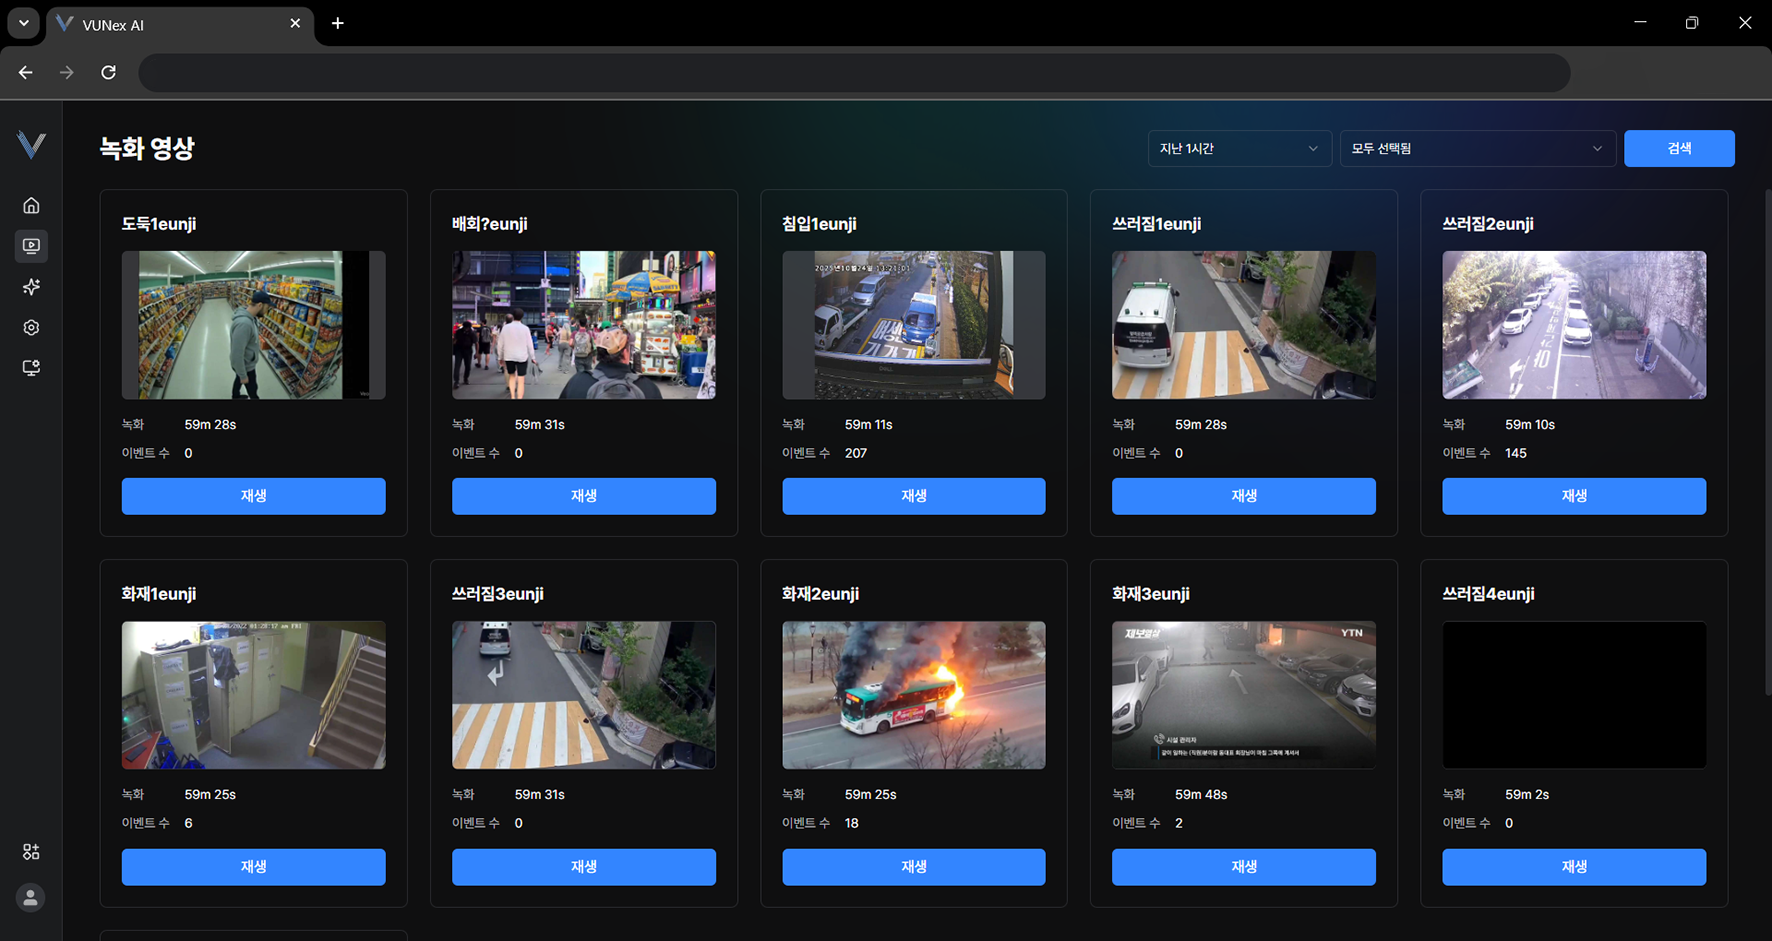 Figure 3-8. Recorded Video by Search Period
 - Click the area marked with a dotted line
- Set the conditions and click [Search]
- Check the recorded video
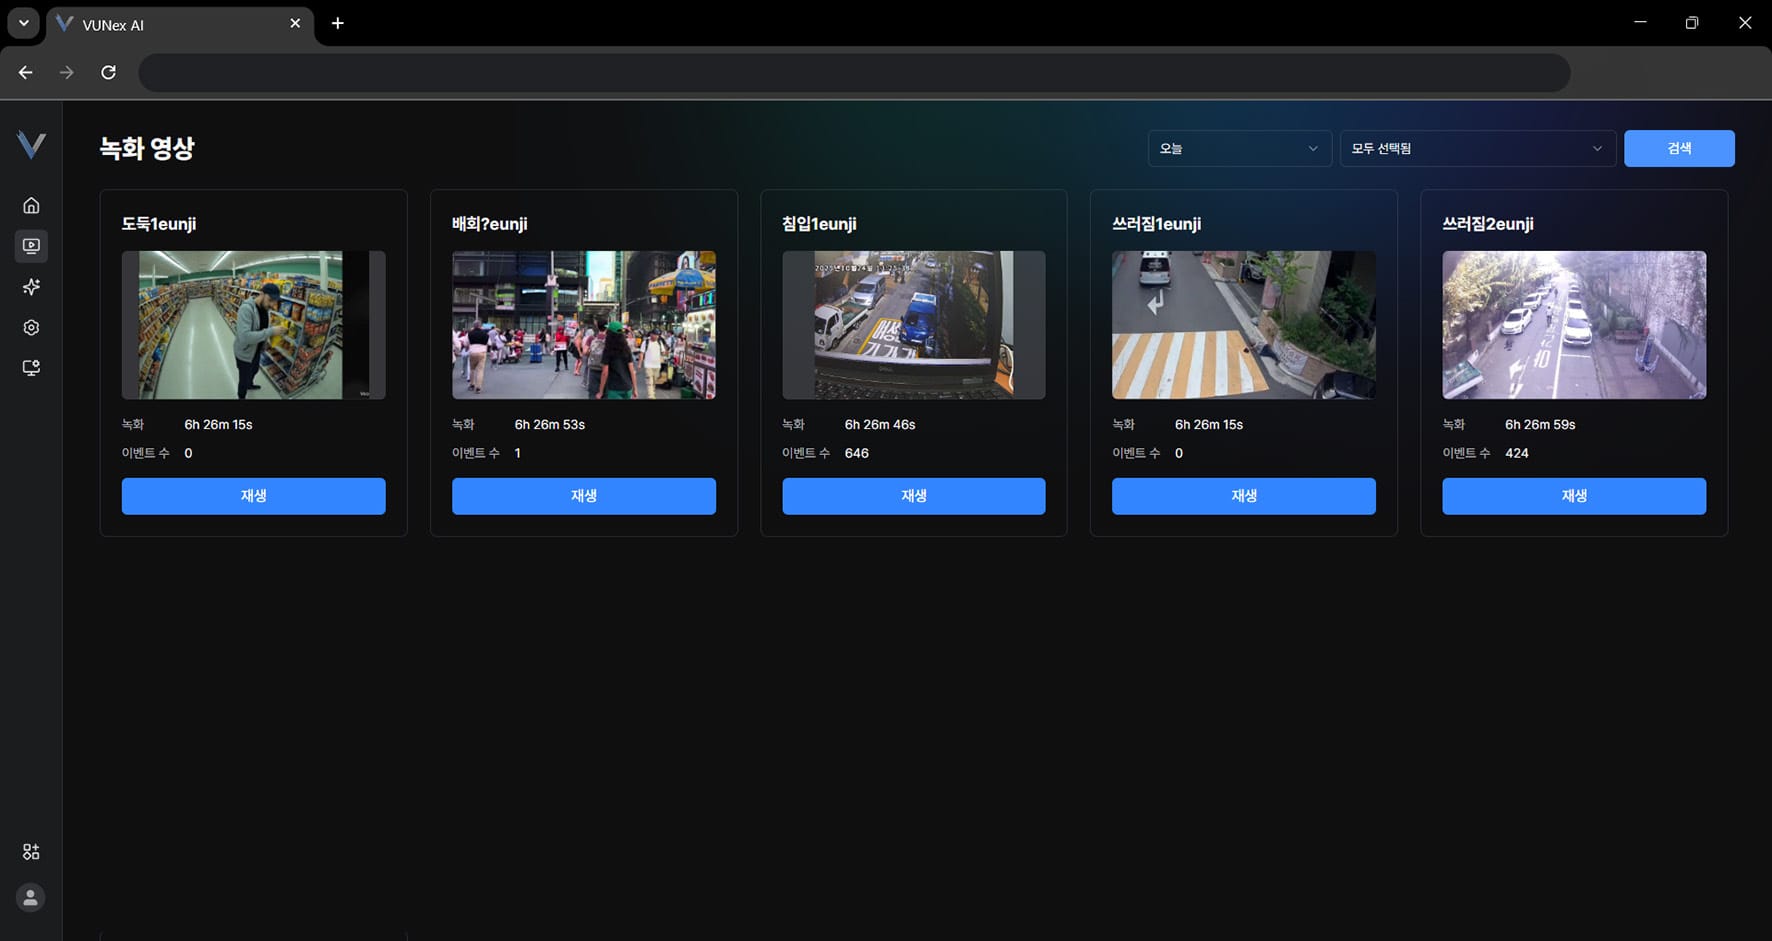 Figure 3-9. Search Results by Period
Note
The recording time and the number of events that occurred are shown according to the search conditions you set.
Playing in Multi View
Check several recorded videos at once.
- In the main menu, click [] > [Recorded Video]The recorded video screen appears.
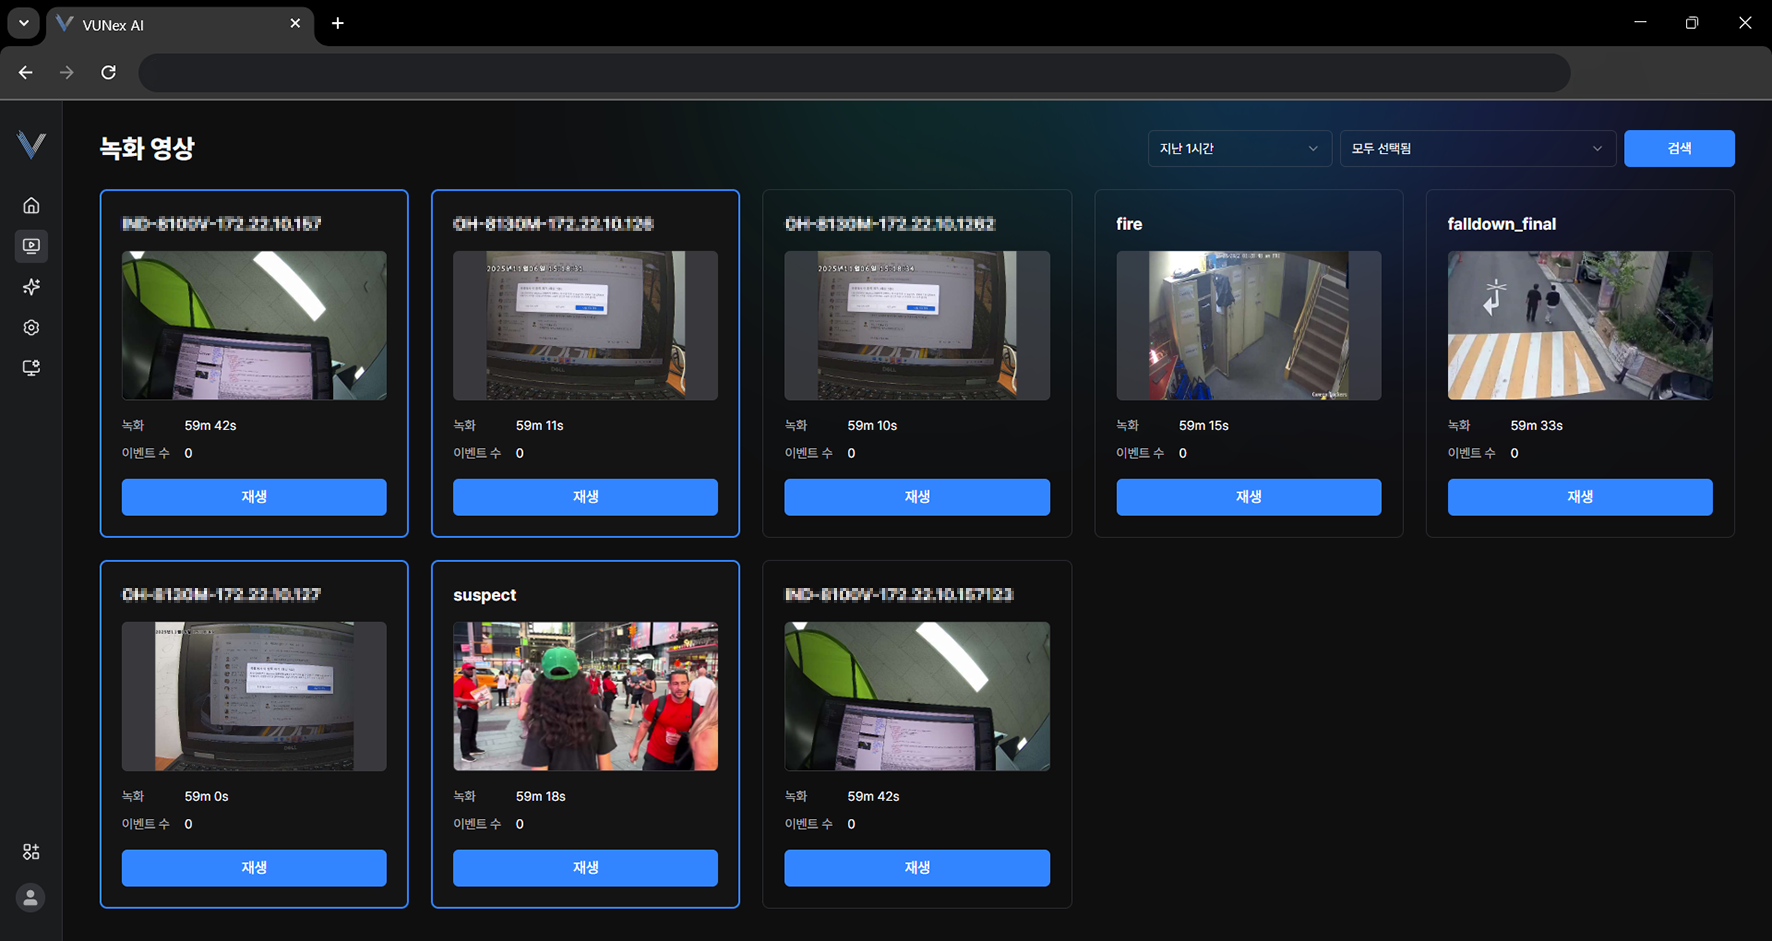 Figure 3-10. Multi View Selection
 - Select the items you want and right-click
- Click [Multi-view playback]
- Check the recorded video
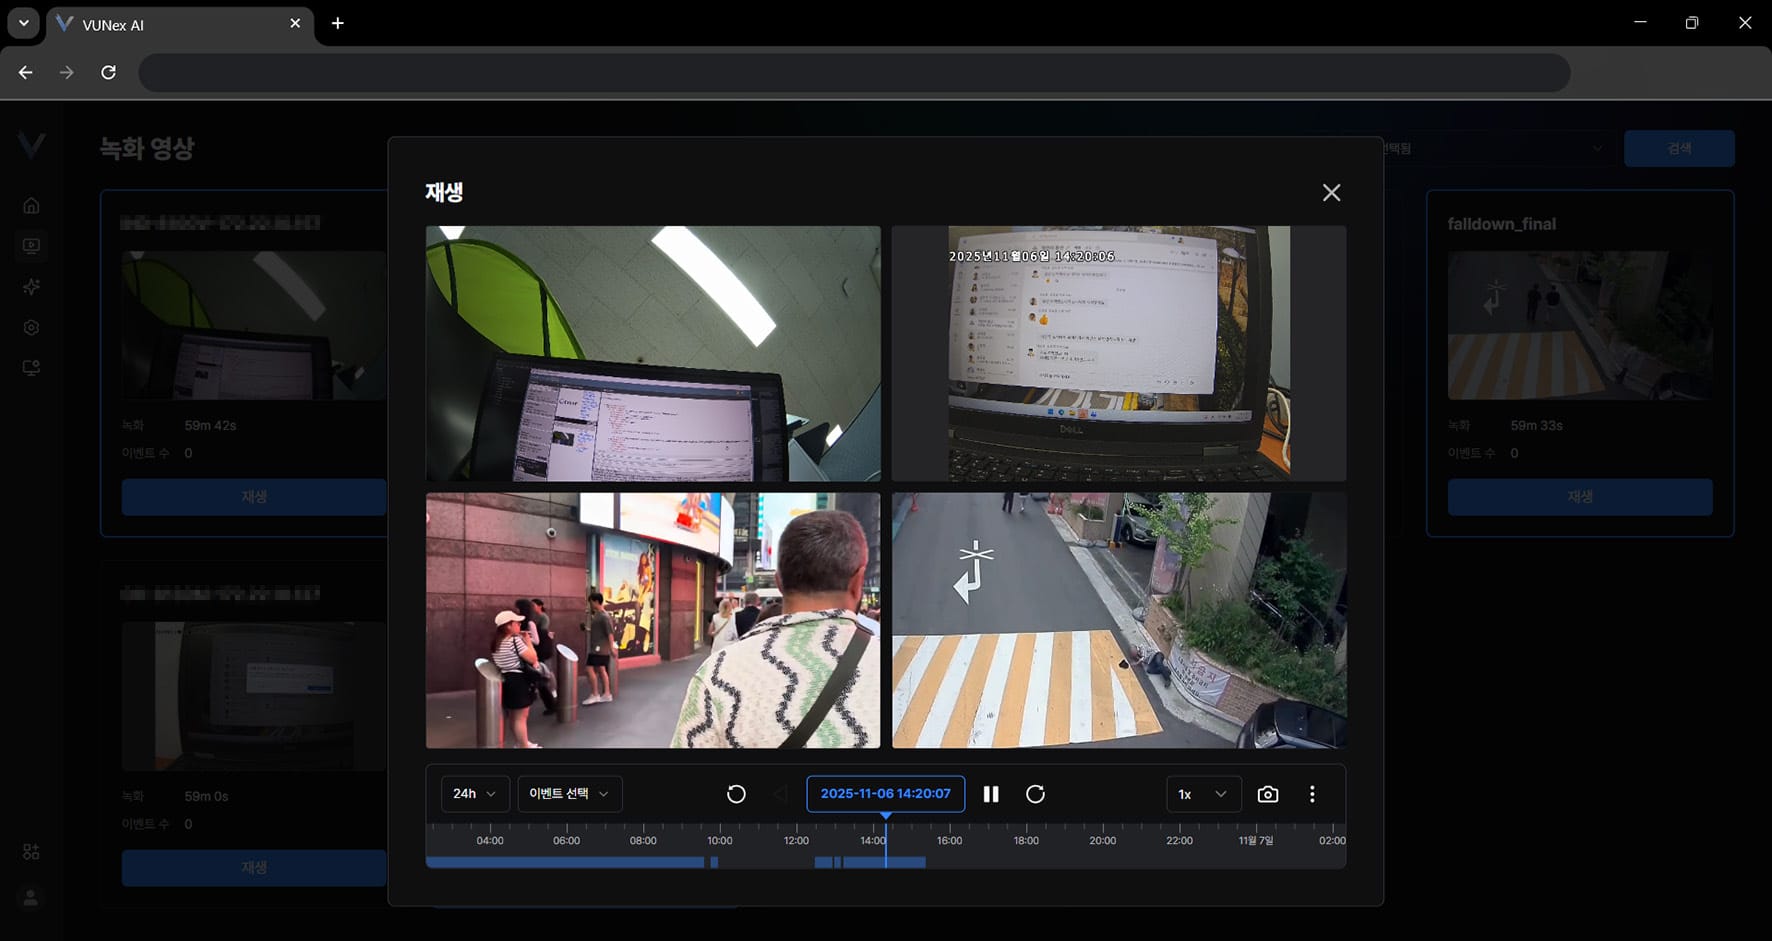 Figure 3-11. Multi View Playback Screen
Searching Video Directly
Search the video directly.
- In the main menu, click [] > [Recorded Video]The recorded video screen appears.
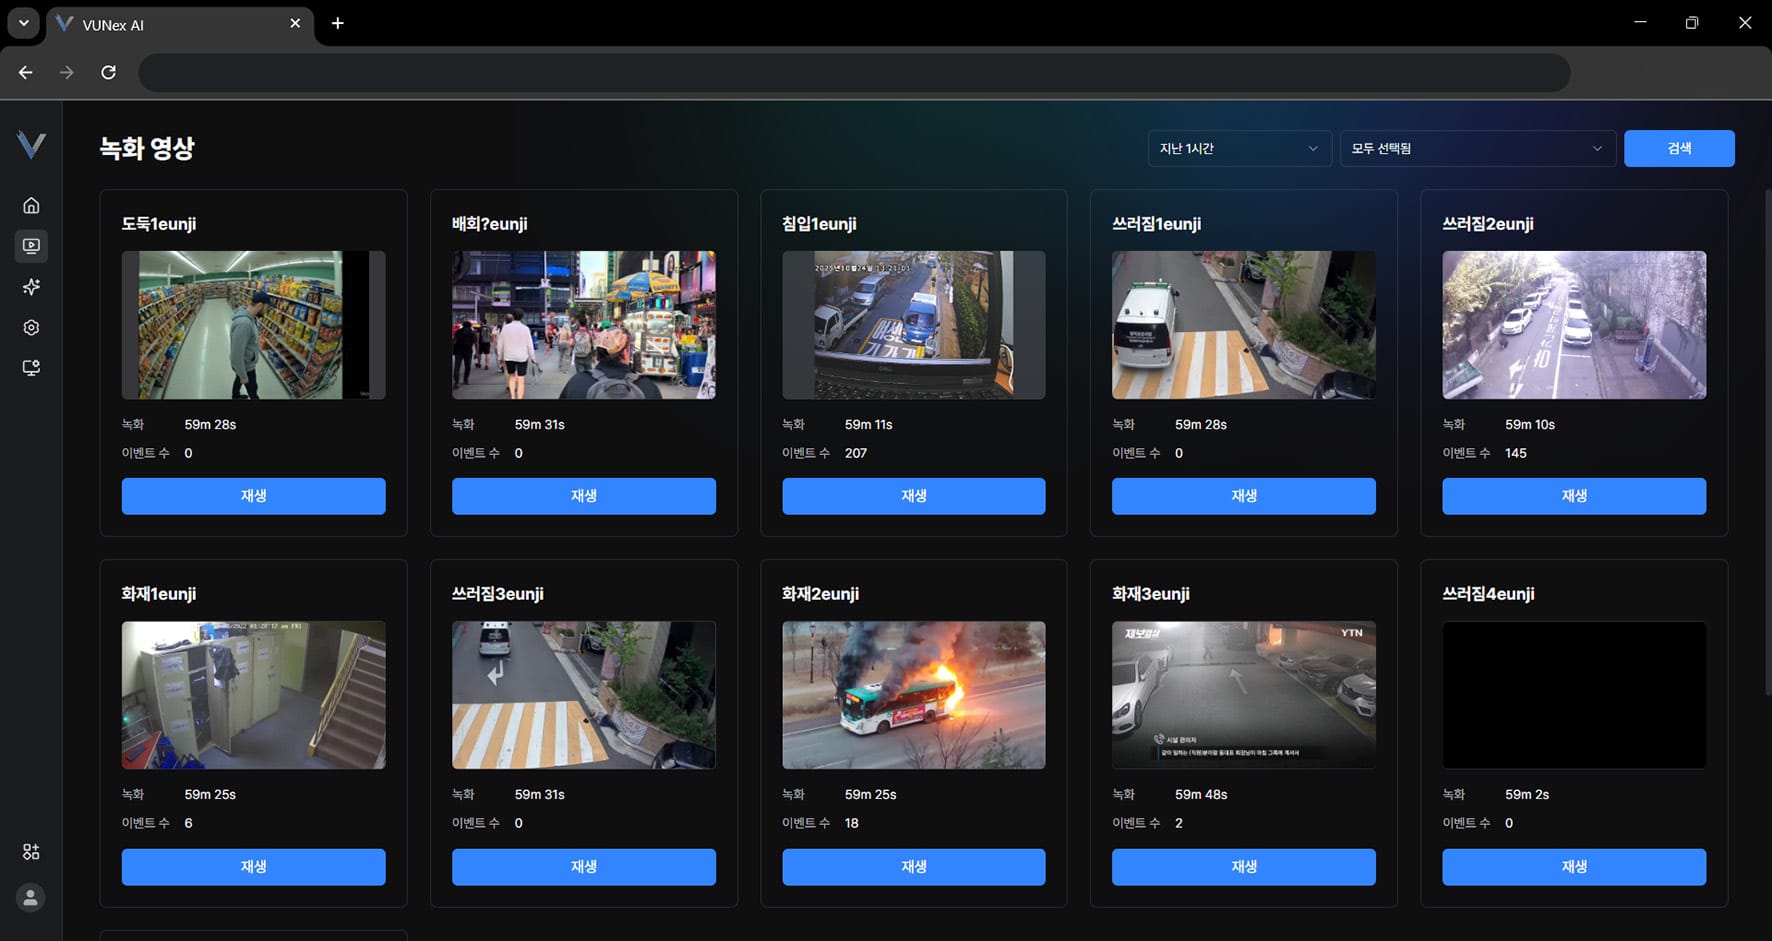 Figure 3-12. Direct Search on the Timeline
 - Click [Playback]
- Drag the timeline left or right
- Search the recorded video
Searching Video by Date and Time
Search video by date and time.
- In the main menu, click [] > [Recorded Video]The recorded video screen appears.
- Click [Playback]
- Click the area marked with a dotted line
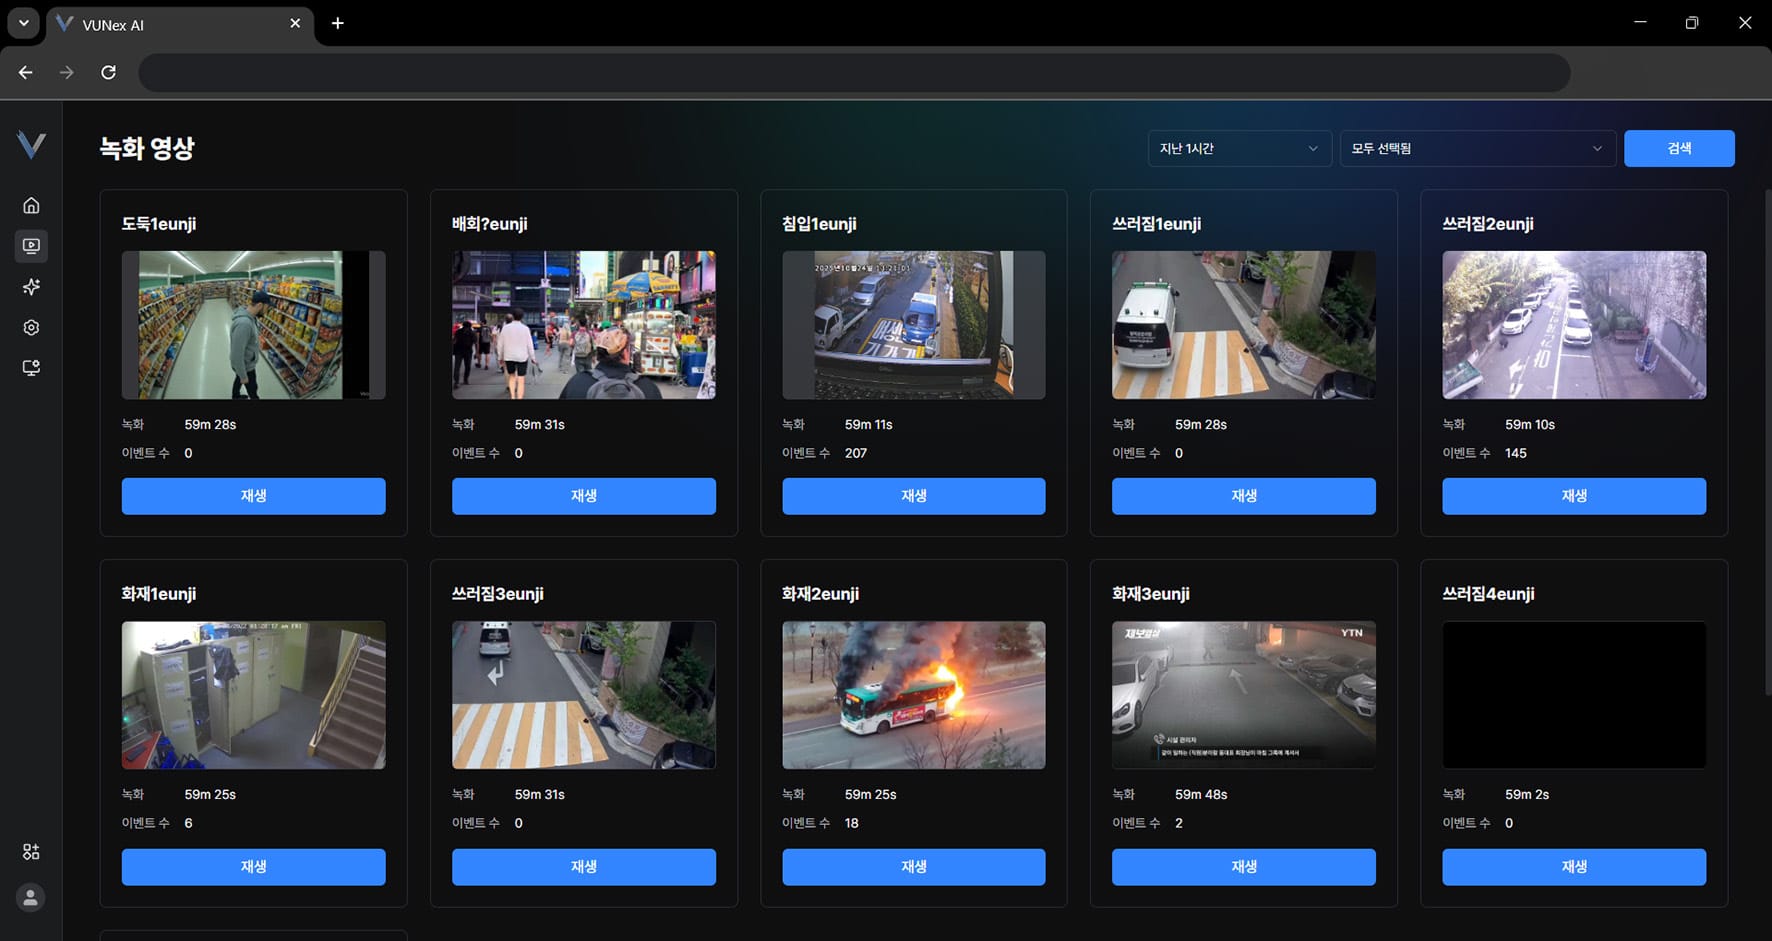 Figure 3-13. Selecting Date and Time
 - Select a date and time to search the video
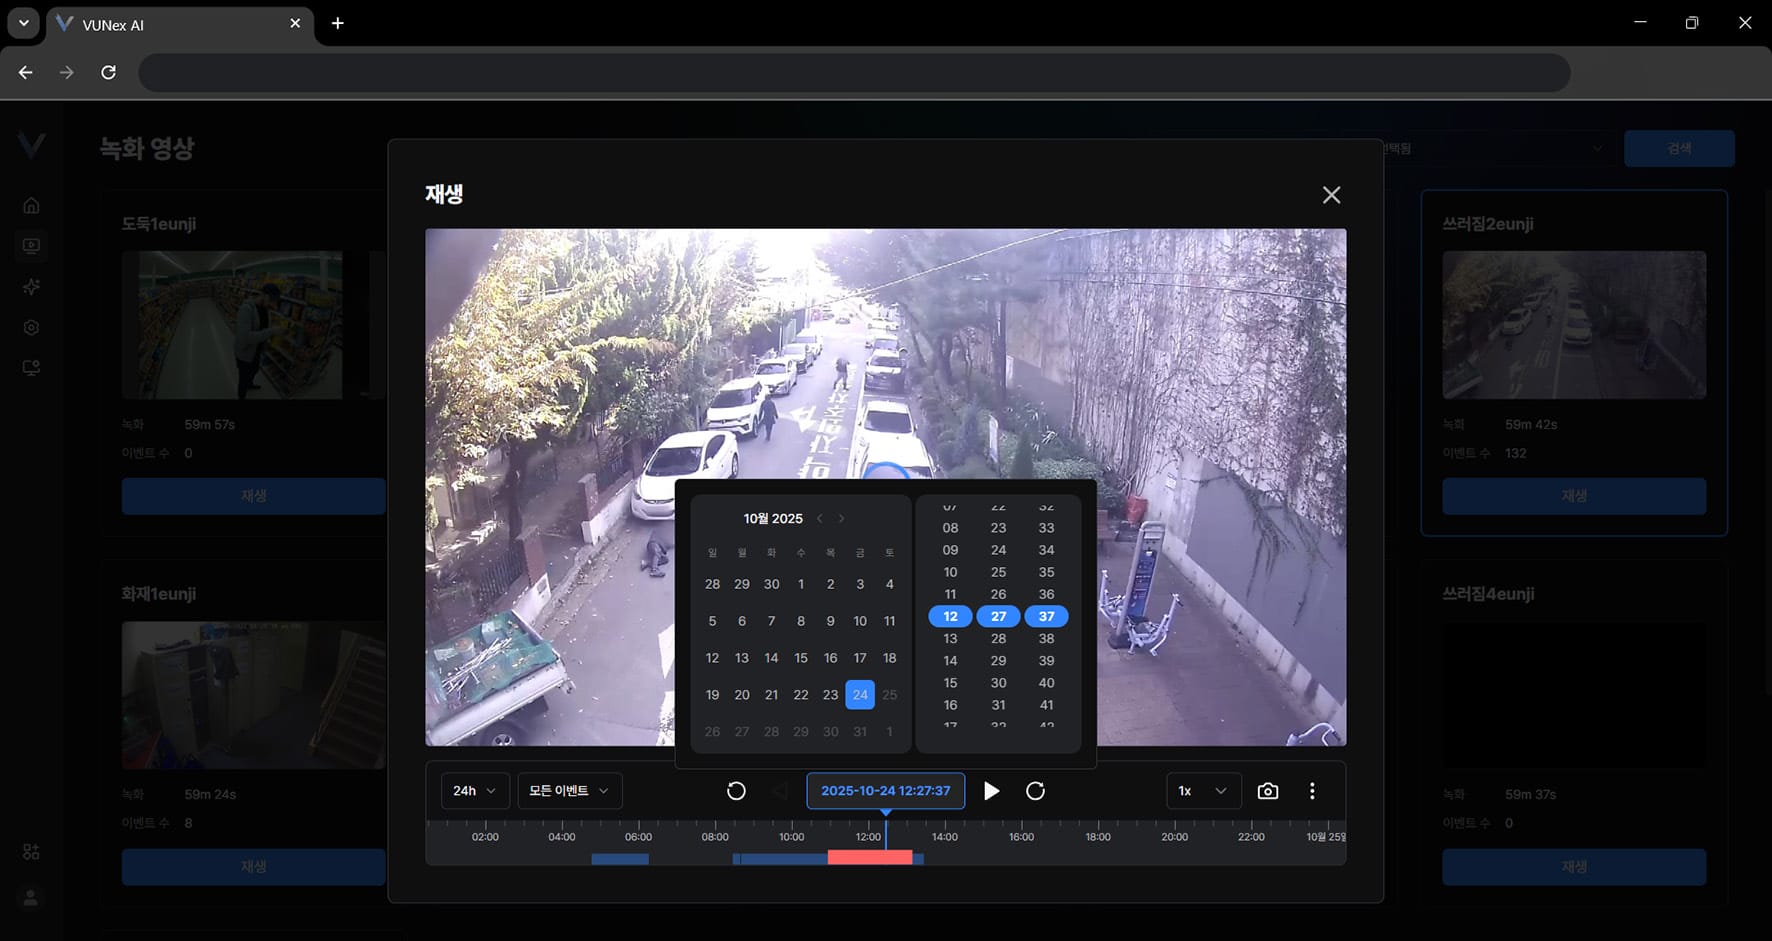 Figure 3-14. Date and Time Search Results
Searching by an Image in the Video
Search by an image in the video.
- In the main menu, click [] > [Recorded Video]The recorded video screen appears.
- Click [Playback]
- Click [] > [Similar Person Search]
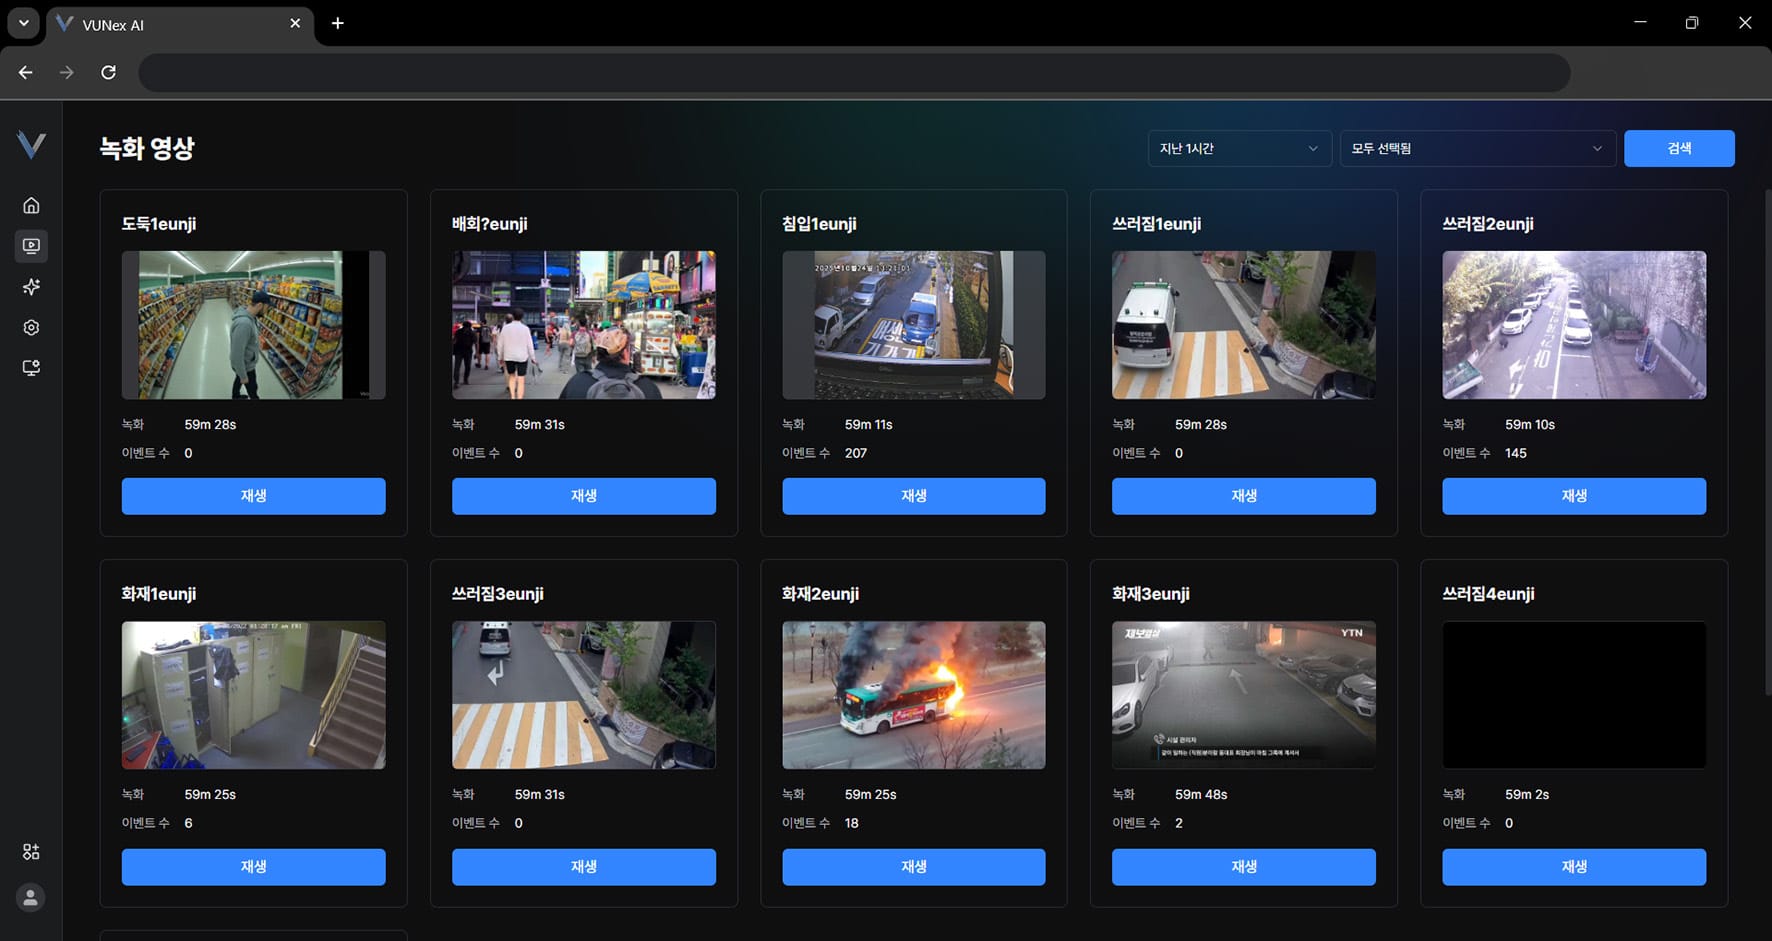 Figure 3-15. Selecting Similar Person Search
 - Drag up, down, left or rightSelect the search area.
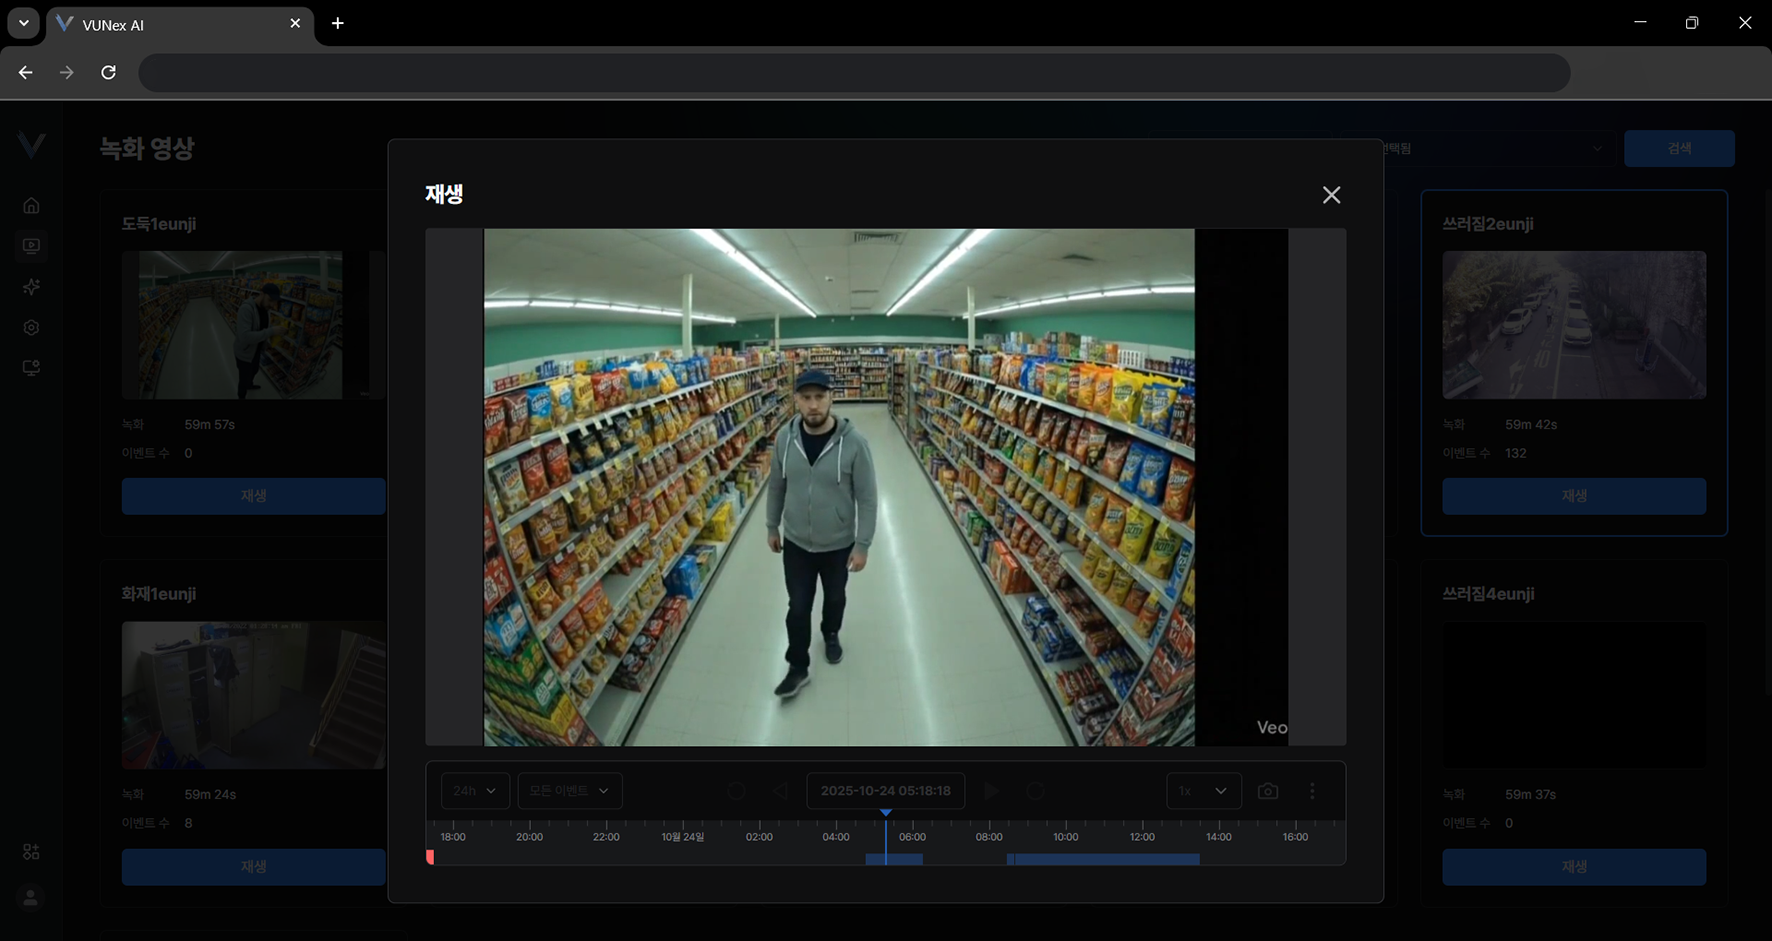 Figure 3-16. Selecting the Search Area
 - Click [Search]
- Search for the image
- Check the search results
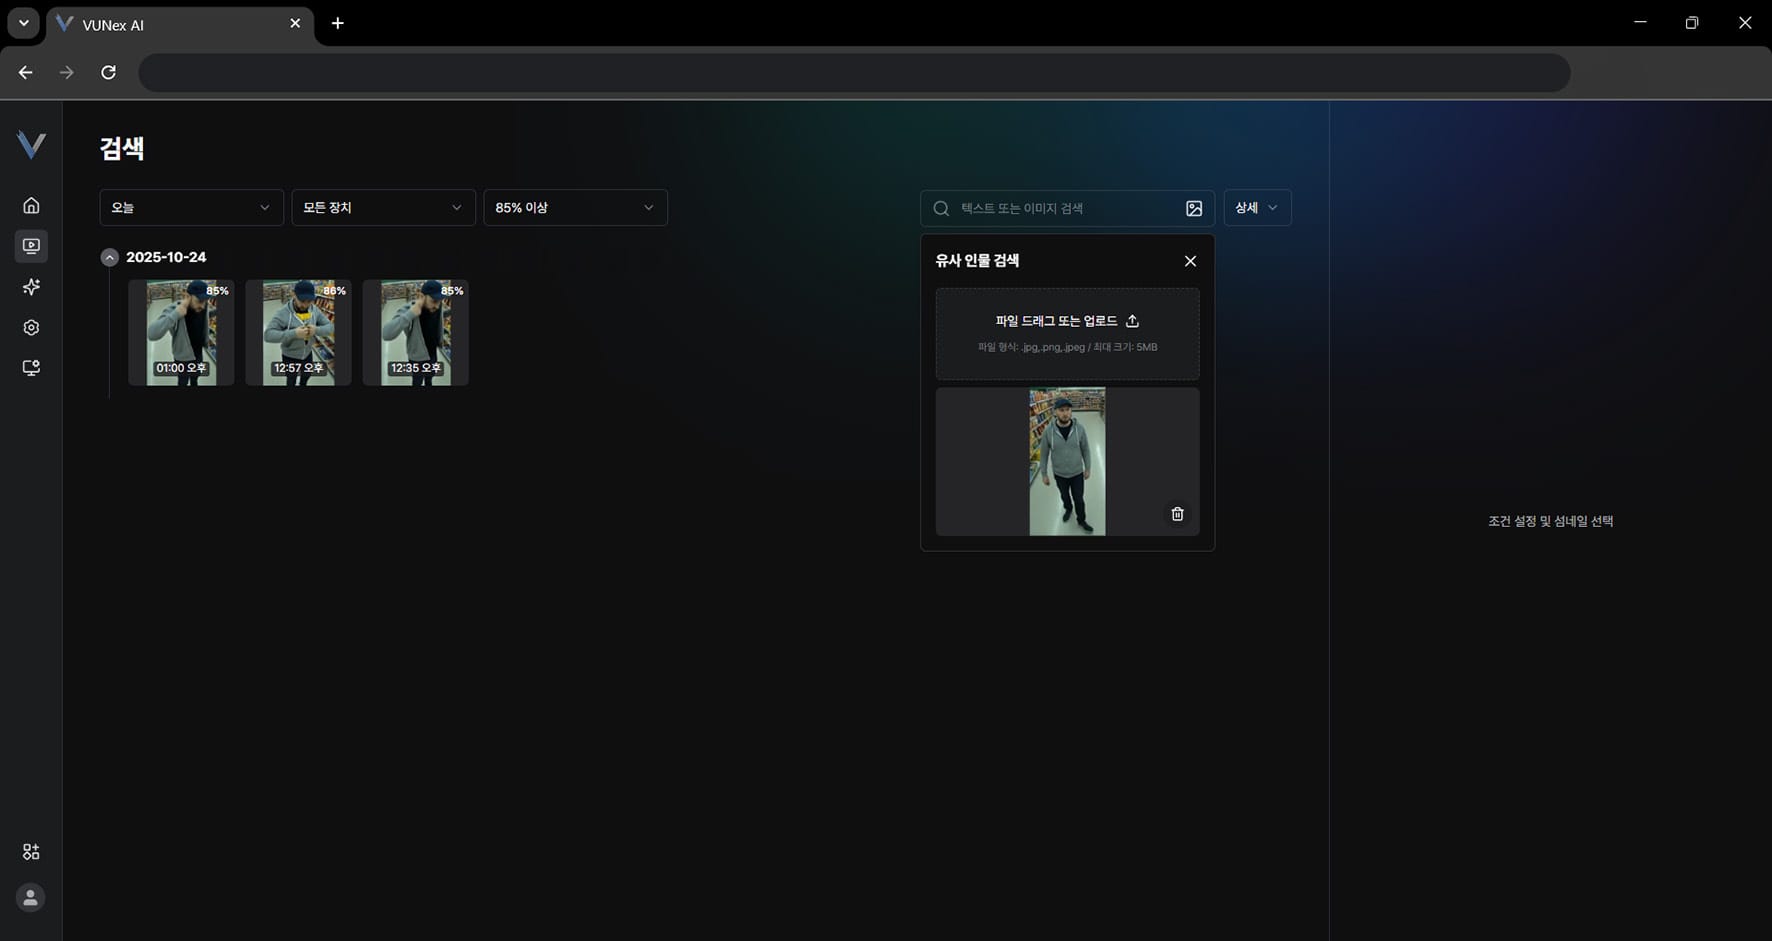 Figure 3-17. Image Search Results
Note
[Map view] requires the [Map view] setting.
In the main menu, click [] > [AI Service] > [Map view] to configure the map view service.
Viewing Recordings in Event Clip Mode
When the recording mode is [Event clip], the recorded video screen is organized around the event list.
- In the main menu, click [] > [Recorded Video]
- Select the camera to review in the [Camera] filterOnly the cameras where events actually occurred are listed.
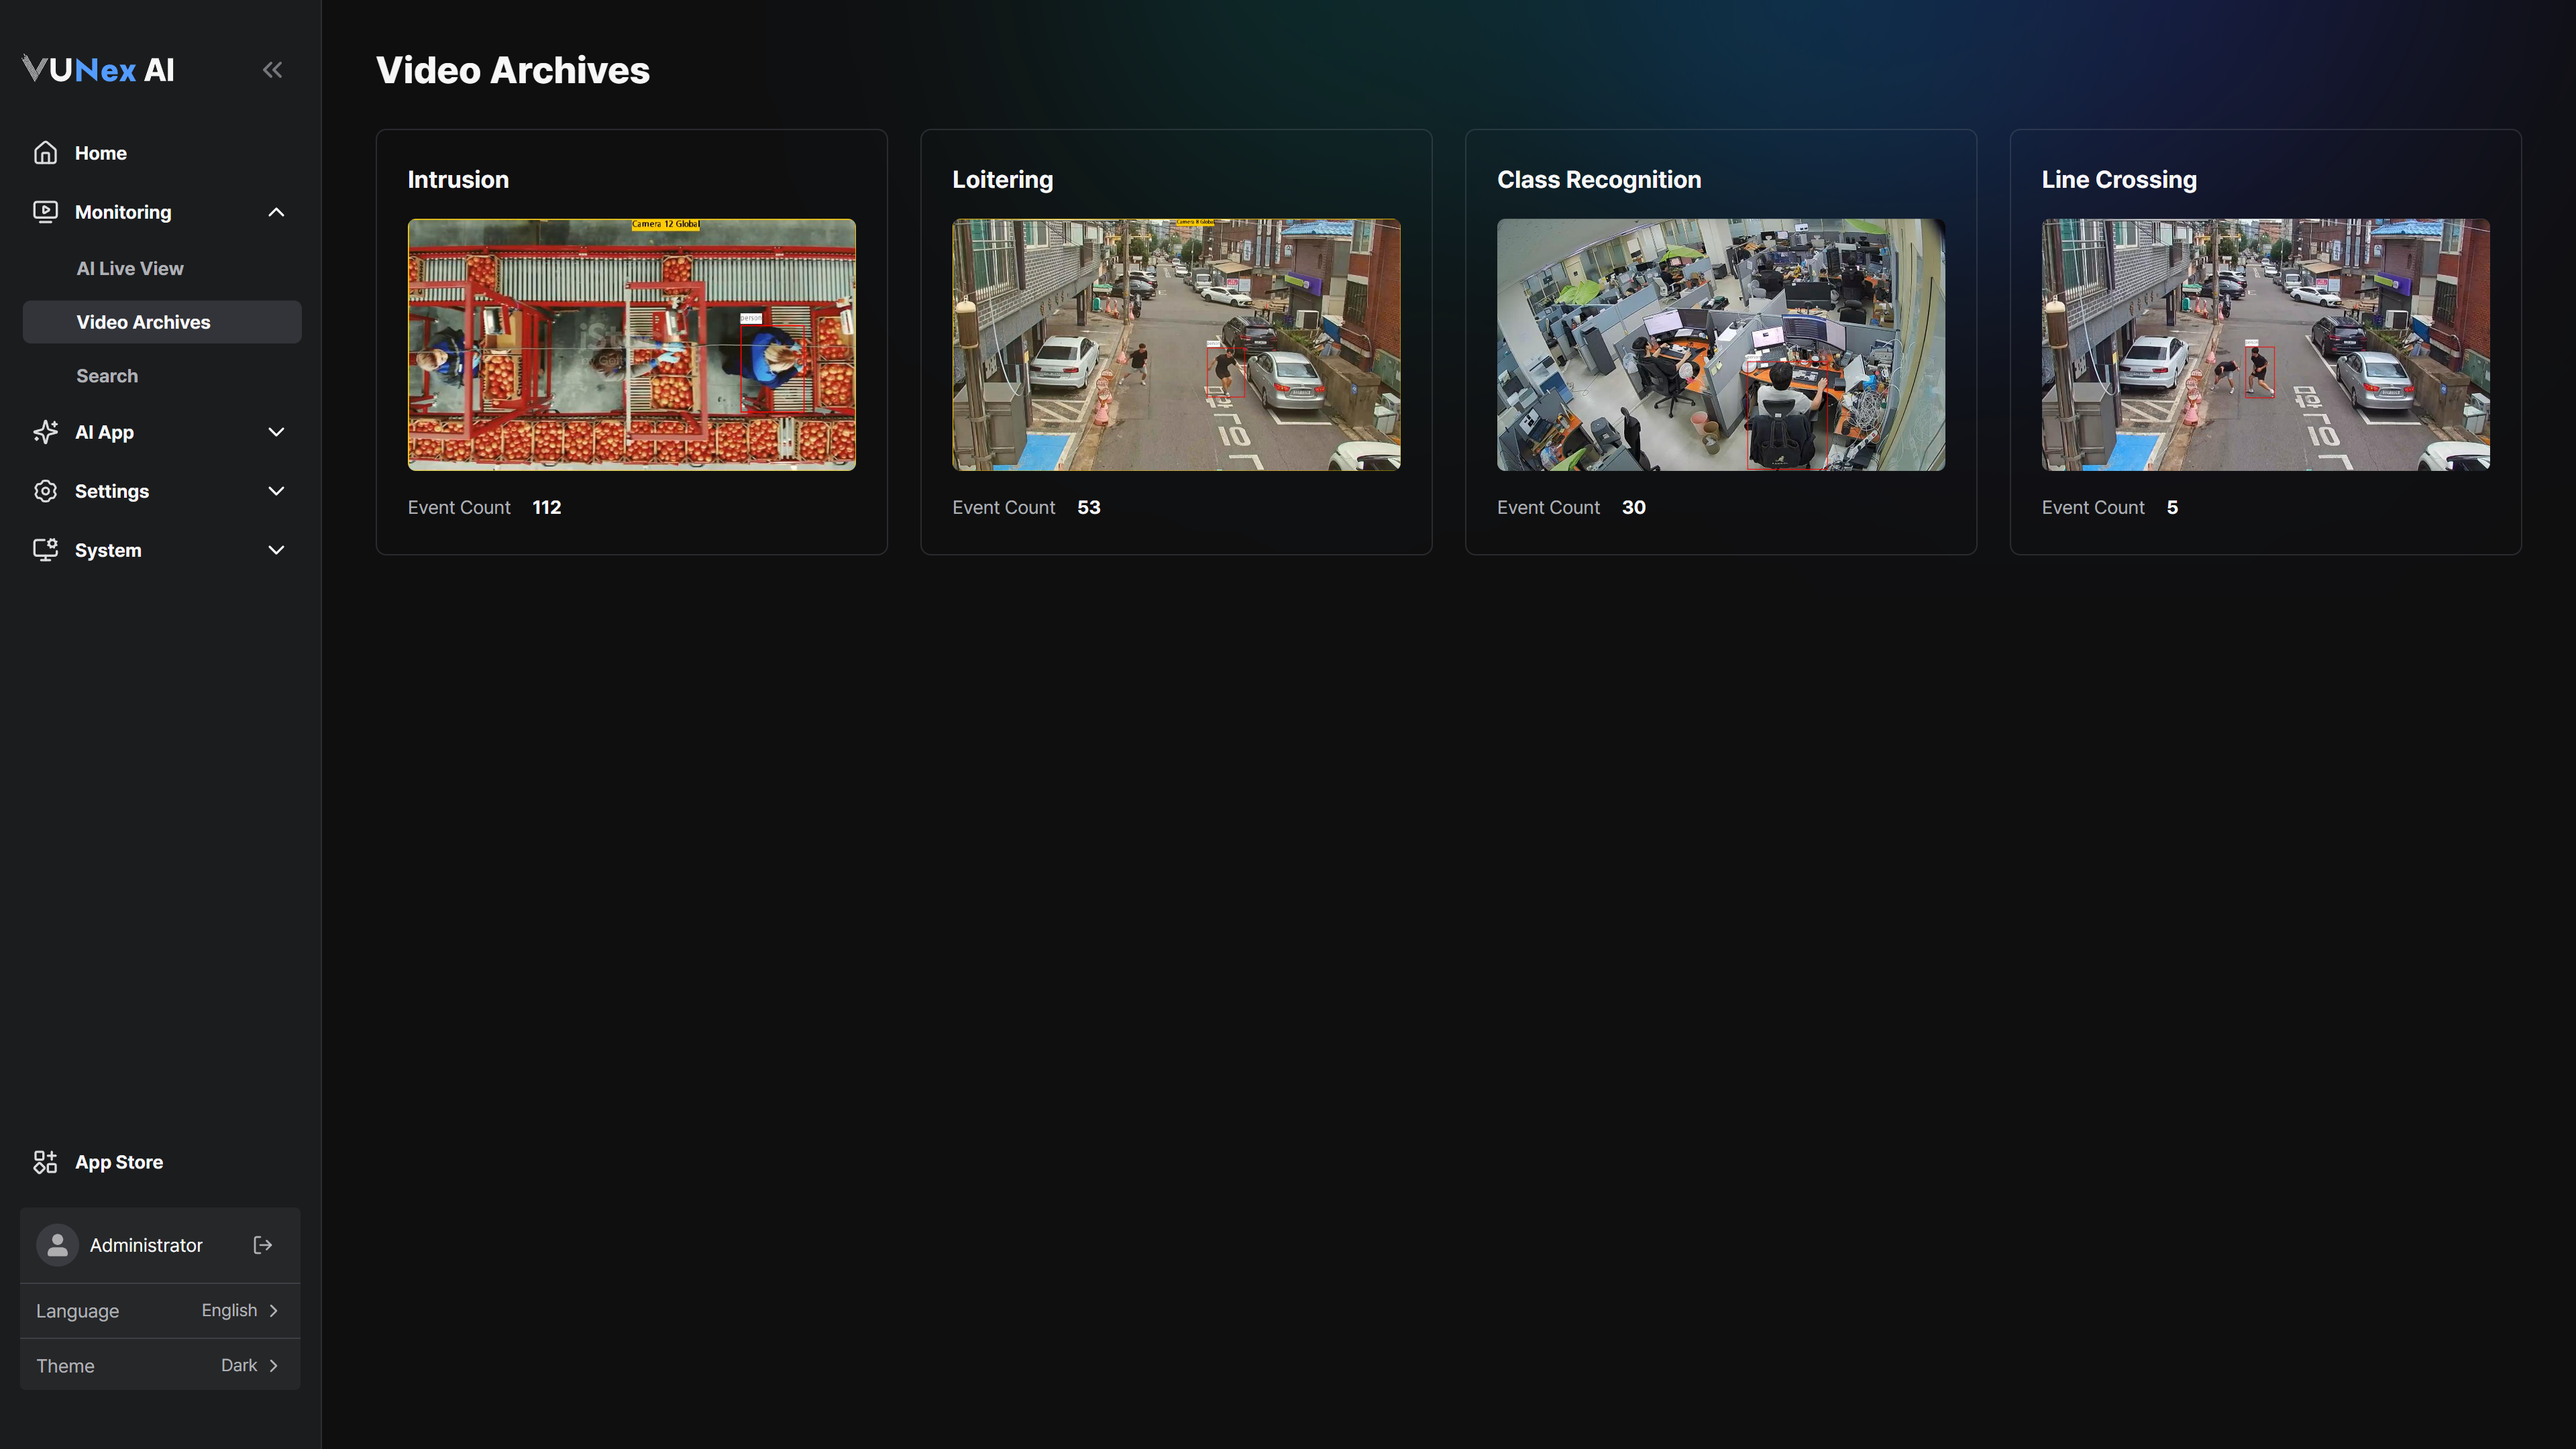 Figure 3-18. Recorded Video in Event Clip Mode
 - Sort by [Newest] or [Oldest]
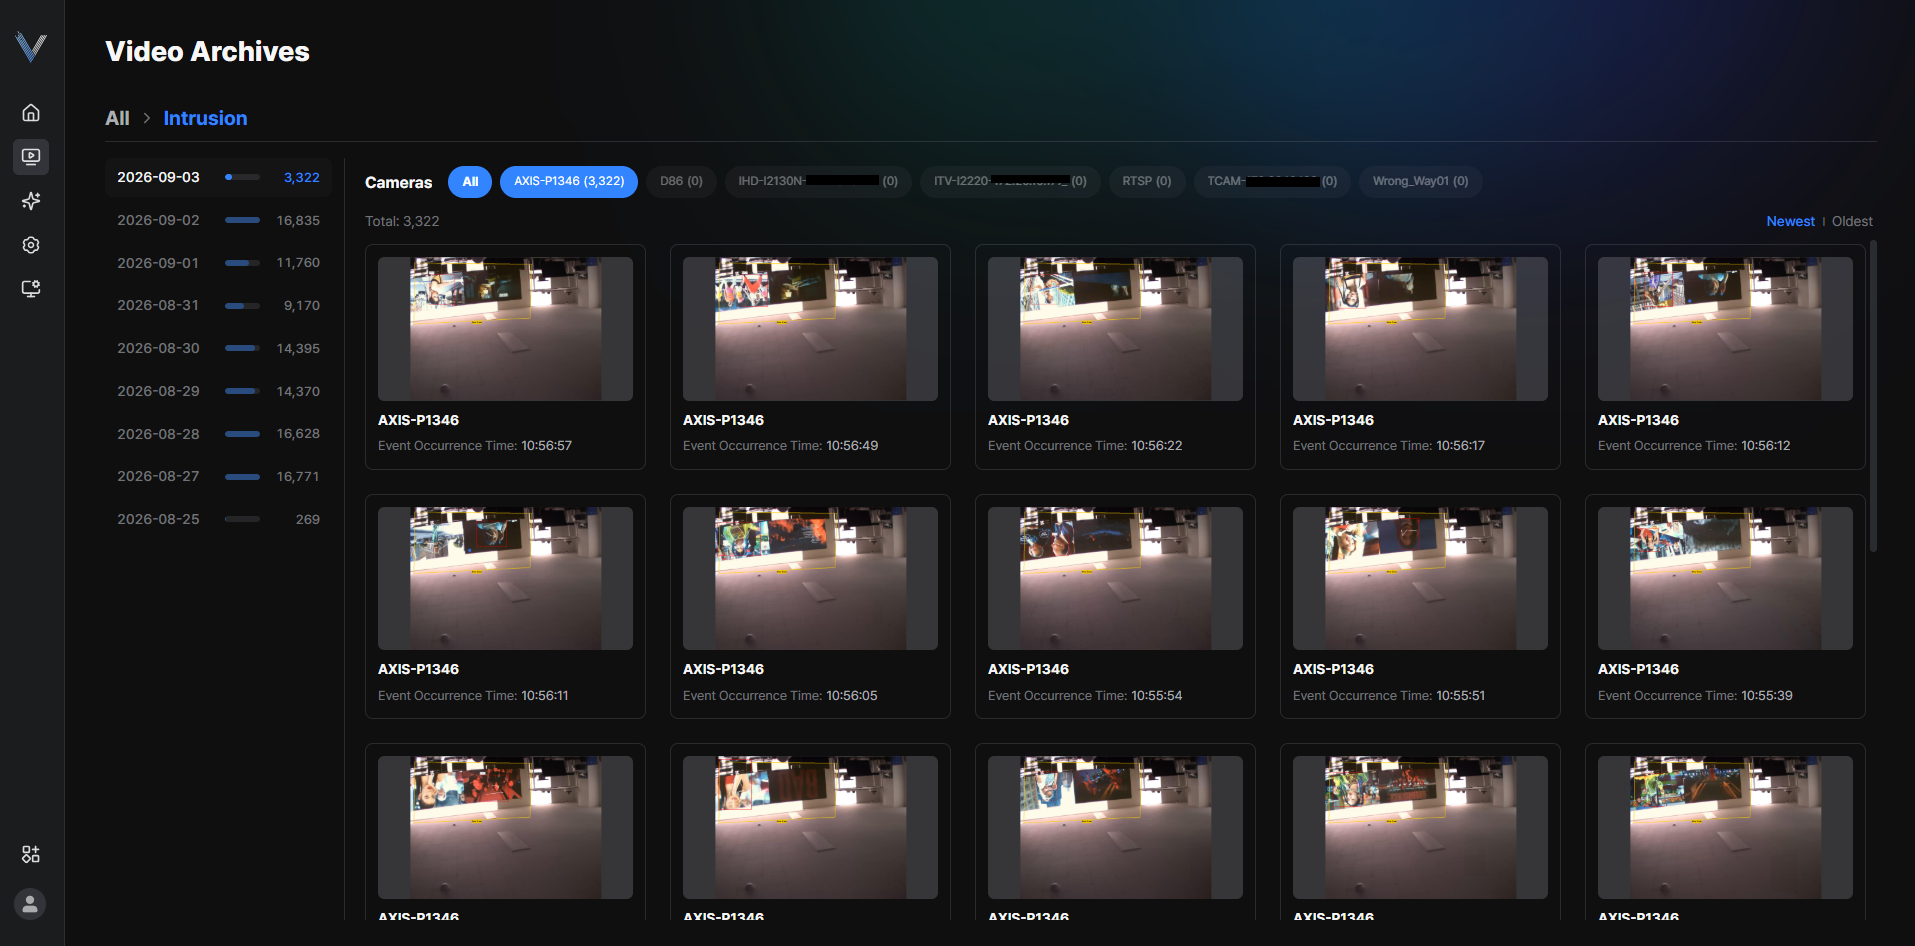 Figure 3-19. Event Clip List
 - Select an event clip and double-click it
Note
Choose the recording mode in [] > [Storage] > [Save options] > [Recording mode], between [Continuous] and [Event clip].
In [Event clip] mode the retention period is at most 30 days and can be shorter depending on the storage capacity.
Storage usage cannot be predicted in advance in [Event clip] mode.
[Event time] shows when the event of each clip occurred.
Selecting Multiple Cells
Select several cells at once in recorded video and play them in multi view.
- In the main menu, click [] > [Recorded Video]
- Drag to select several cellsThe [selected/maximum] count is shown below the grid.
- Right-click and click [Multi-view playback]
Note
The number of selectable cells is limited, and a message is shown when the limit is exceeded.
You can switch to another device while in playback.
Select the [AI Teaching] icon on the playback screen to teach from the playback scene.
The [AI Teaching] button appears only on devices running an open-vocabulary detection (OVD) model.
You can check the applied model in [App Store] > [AI model].
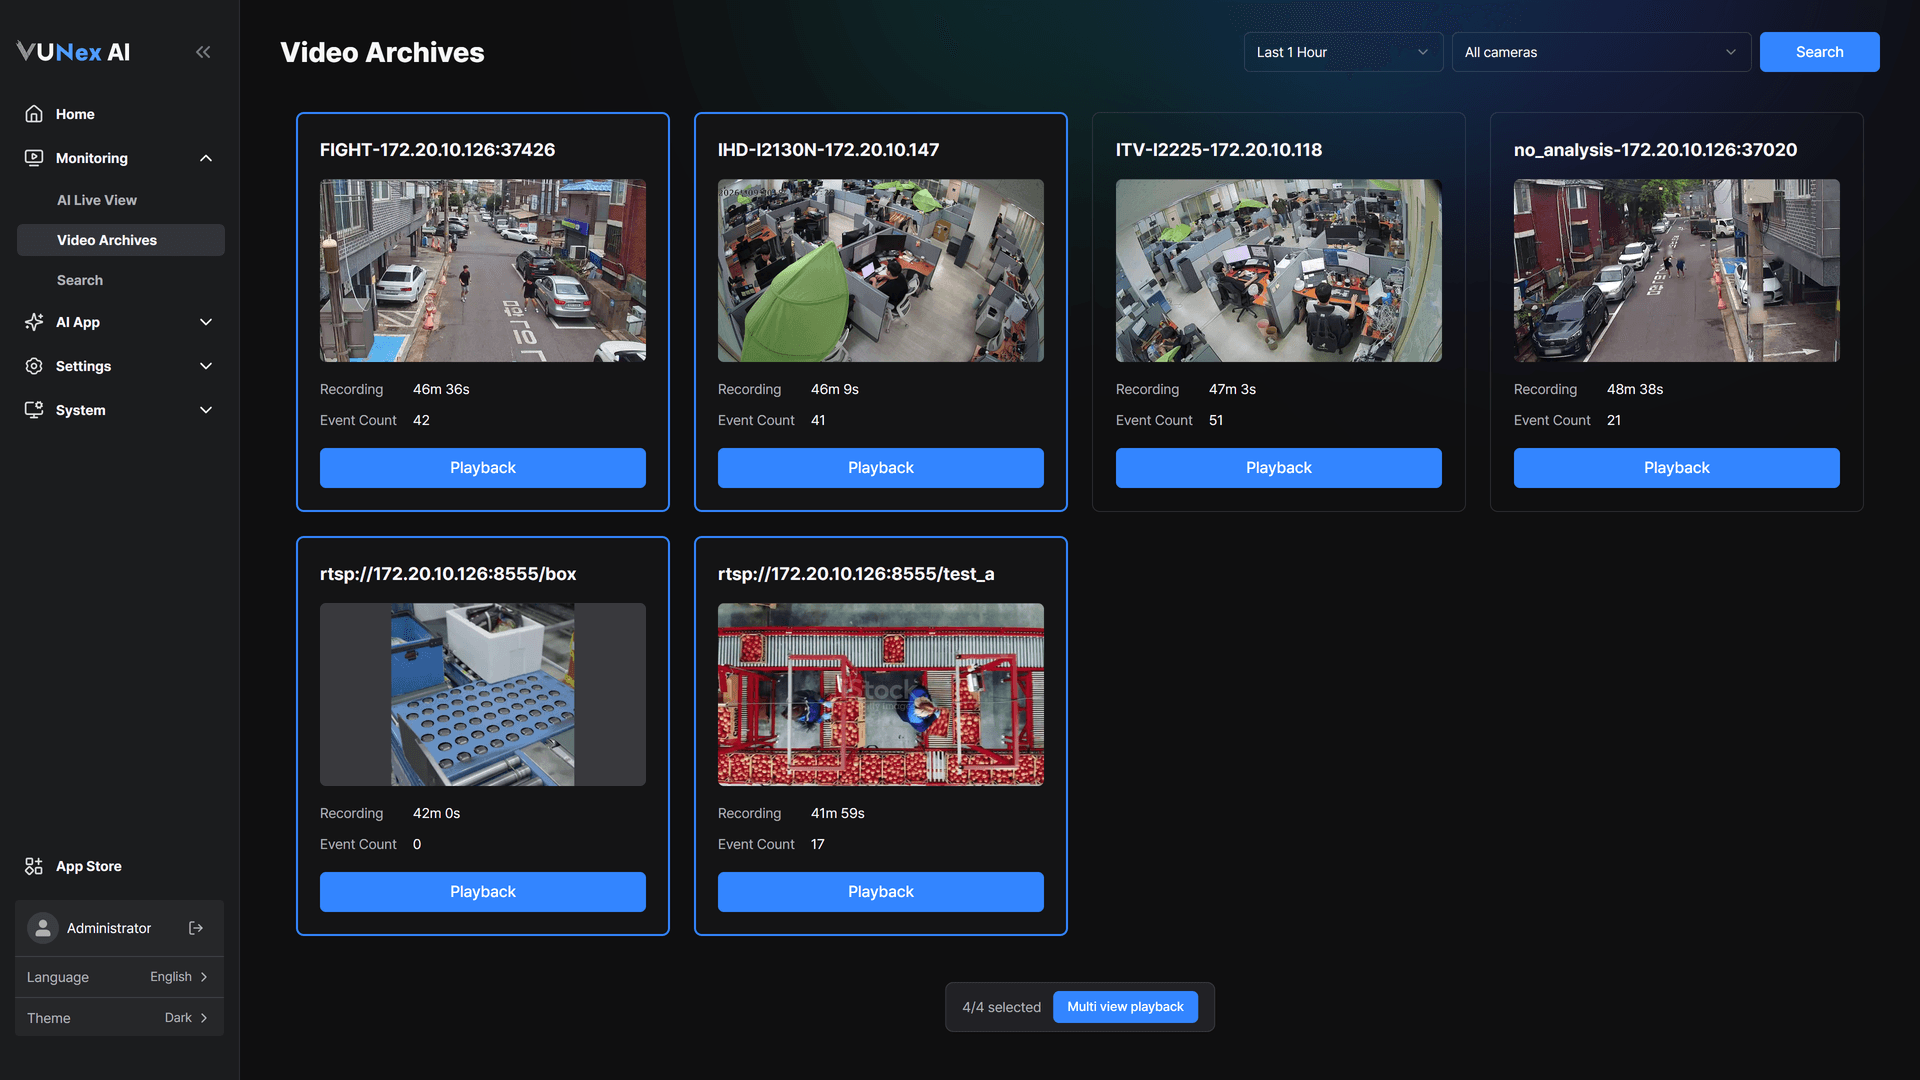
Figure 3-20. Selecting Multiple Cells