02
Monitoring
This section explains how to view live video and monitor real-time events on the Monitoring screen.
Viewing camera video
![[캡처 필요: 모니터링 메인 화면 - 리소스/그리드/이벤트 영역 전체 구조]](/_next/image?url=%2Fmanual%2Fvunexhub%2Fimages%2F1779435622906_Monitoring_main_k.png&w=1920&q=75&dpl=dpl_9dyqtFAdagPhFoBcUQXwGffUzrM7)
- Click [Monitoring] in the left menu.The Monitoring screen appears. The [Resource] and [Events] areas are on the left, and the grid is in the center.
- Assign cameras from the [Resource] area to grid cells.
- Single camera : Double-click the camera, or drag and drop it onto a cell.
- Multiple cameras : Hold Ctrl (Cmd on macOS) and click to select several cameras, then drag and drop them onto a cell.
- All cameras : Press Ctrl + A (Cmd + A on macOS) to select all cameras, then drag and drop them into a cell.
Note
- To narrow down the list, use the search field or the type filter at the top of the [Resource] area. The type filter only appears when devices of that type are registered.
- When multiple cameras are dragged at once, they are placed in order starting from the drop position, filling empty cells. When the current page is full, the remaining cameras continue on the next page.
Controlling video cells
Right-click a video cell to open the right-click menu, where you can zoom, play recordings, and turn display options for that cell on or off.
![[캡처 필요: 셀 마우스 오른쪽 버튼 메뉴 - Controls + Display Options 그룹]](/_next/image?url=%2Fmanual%2Fvunexhub%2Fimages%2F1779435629426_Monitoring_main_-context_menu_ko.png&w=1920&q=75&dpl=dpl_9dyqtFAdagPhFoBcUQXwGffUzrM7)
- Right-click on a video cell to open the menu.The menu has two groups, [Controls] for video actions and [Display Options] for turning cell display items on or off.
- From [Controls], choose the action you want.
- [Zoom(PIP)] : Show a zoomed-in area inside the same cell (Picture-in-Picture).
- [Playback] : Open the recorded video player for this camera. See the Playback section for details.
- [Full screen] : Enter full-screen mode. See Using full-screen mode for details.
- [Select in tree] : Focus the device in the [Resource] tree.
- From [Display Options], turn the items to display on the cell on or off.
- [Camera Name] : Pin the camera name on top of the video.
- [Video Information] : Show resolution, fps, and kbps.
- [Detection Boxes] : Show AI object detection boxes (only for AI-enabled cameras).
- [AI Exclusion Area] : Show areas excluded from AI analysis (only for AI-enabled cameras).
Note
- When you hover over a cell, an [X] button appears at the top right. Click it to remove the video from that cell and return it to an empty state.
- When the video cannot be displayed normally, the cell shows the current status.
Managing layouts
- Click the grid mode (for example, [16 Grids]) at the top right to change the number of cells.You can choose from the grid options. The new grid applies to the current page, and the videos are rearranged automatically.
![Click the grid mode (for example, **[16 Grids]**) at the top right to change the number of cells.](/manual/vunexhub/images/1779435632375_Monitoring_-Grids_ko.png)
- Click [⋮] (more) next to the layout name.
- [Add New Layout] : Create a new empty layout.
- [Duplicate Layout] : Duplicate the current layout with the same cell assignments.
- [Clear All Cells] : Remove all videos from the cells of the current layout. A confirmation window appears; this action cannot be undone.
- [Full screen] : Enter full-screen mode. See Using full-screen mode for details.
![Click **[⋮]** (more) next to the layout name.](/manual/vunexhub/images/1779435638209_Monitoring_-_Layout_control_ko.png)
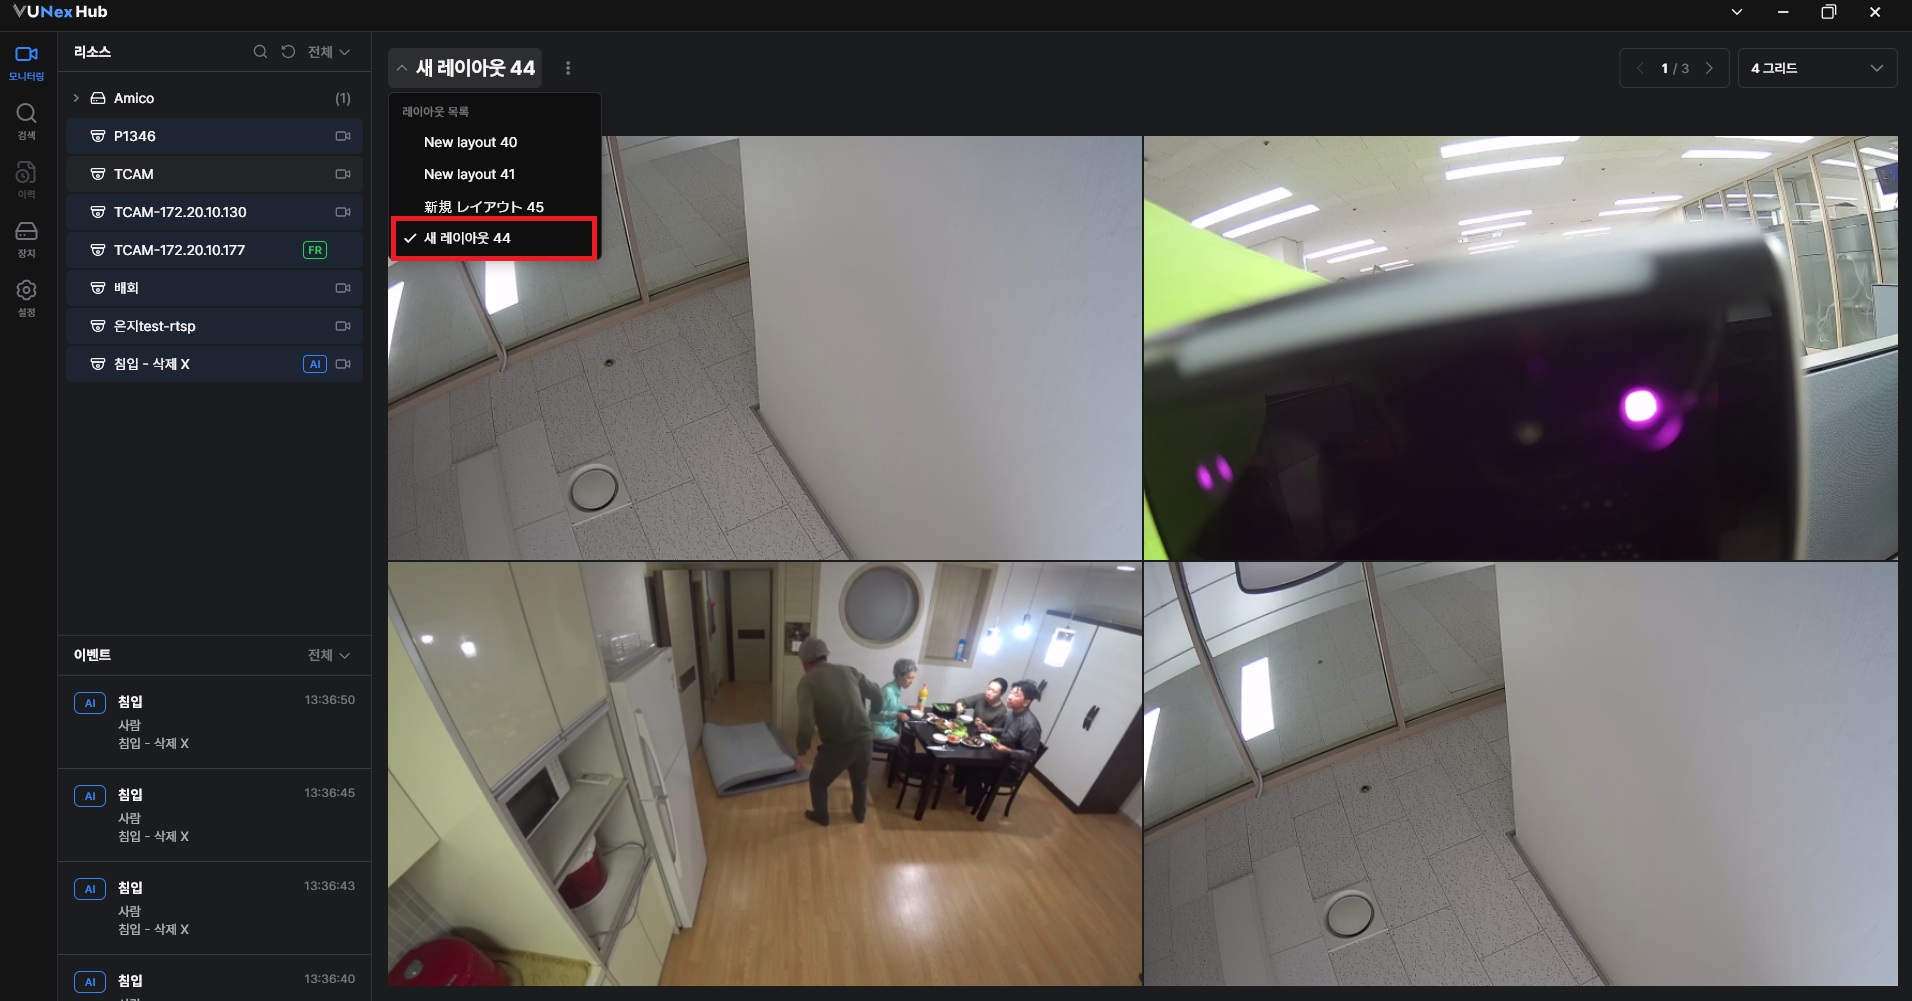
- To delete a layout, expand the layout list, click the delete icon on the right side of the layout you want to delete, and select [Delete Layout].A confirmation window appears. Once deleted, the layout cannot be recovered.
![To delete a layout, expand the layout list, click the delete icon on the right side of the layout you want to delete, and select **[Delete Layout]**.](/manual/vunexhub/images/1779435635786_Monitoring_-_Layout_name_ko.png)
- Click the left or right arrow in the page indicator at the top right to switch pages.The current page and total number of pages are displayed. Click the left or right arrow to move to the previous or next page.
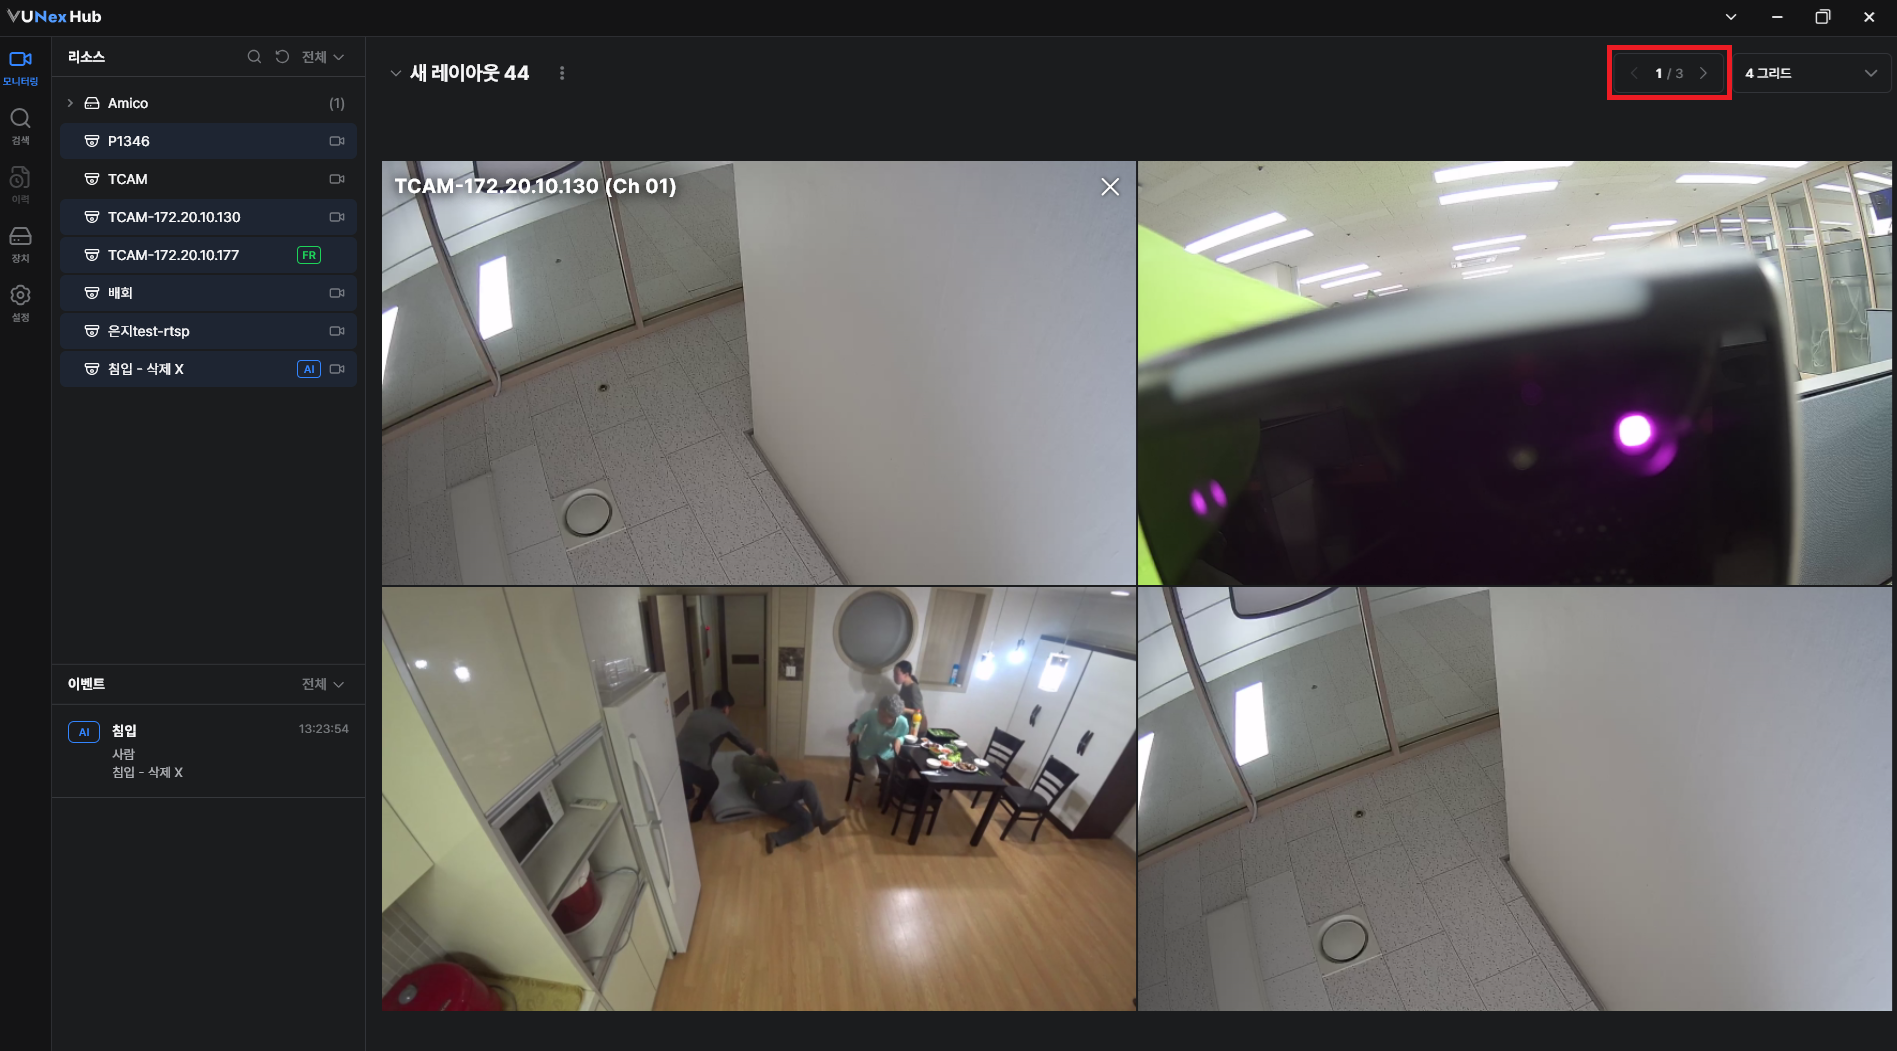
- To edit a layout name, expand the layout list, then click the edit icon on the right side of the layout you want to edit and change the layout name.The edit window appears. Change the layout name and save it to apply the changes.
Note
- You can drag a video assigned to one cell into another cell.
- If the target cell is empty, the video moves there; if the target cell already has a video, the two videos swap positions.
Using full-screen mode
![[캡처 필요: 전체 화면 모드 - n분할 전체화면 및 1분할 확대 상태]](/_next/image?url=%2Fmanual%2Fvunexhub%2Fimages%2F1779757865580_Fullscreen_ko.png&w=1920&q=75&dpl=dpl_9dyqtFAdagPhFoBcUQXwGffUzrM7)
- Enter full-screen mode through one of the following.
- Double-click on a video cell area.
- Right-click on a video cell and choose [Full screen].
- Click [⋮] (more) next to the layout name and choose [Full screen].
- Switch between the grid view and a single video view.In full-screen mode, double-click a specific video to expand it to a single view. Double-click again to return to the original grid full screen.
- Press the ESC key, or hover over the top of the screen and click the [X] button to exit full-screen mode.Full-screen mode ends immediately regardless of whether you are viewing the grid or a single video. The previous grid layout and playback state (playing, paused, etc.) are preserved.
Note
- When you enter full-screen mode, a notice on how to exit appears at the top center and then disappears automatically.
- The [X] button is hidden by default and only appears when you hover the mouse over the top of the screen.
Checking real-time events
- Check the event list in the [Events] area on the left.Detected events appear as cards in chronological order (most recent first). Up to 30 events are kept in the list, after which the oldest are removed automatically.
- Click the filter at the top of the [Events] area to choose an event type.Choose from [All], [AI], [AC], [FR], or [Camera] to show only events of that type.
- Click an event card to see its details.An event detail window opens. See Viewing event details for more.
Note
- Drag the divider line between the [Resource] and [Events] areas to adjust the height of the events list.
- Each event card shows the event type badge (AI/AC/FR), event name, source device, and timestamp.
- Additional information such as user name or door is shown depending on the event type.
Viewing event details
![[캡처 필요: 이벤트 상세 창 - AI/AC/FR 유형별]](/_next/image?url=%2Fmanual%2Fvunexhub%2Fimages%2F1779435634204_Monitoring_Events_Detail_ko.png&w=1920&q=75&dpl=dpl_9dyqtFAdagPhFoBcUQXwGffUzrM7)
- Click an event card in the [Events] area.The event detail window opens.
- Check the information in the window. The fields shown depend on the event type.
- AI events : Source camera, occurrence time, and the event clip video.
- AC events (Access Control) : User group, user name (Unknown User if not registered), door, linked camera (displayed as “Link Connection” if not registered), AC device, occurrence time, and a thumbnail captured at the device.
- FR events (Face Recognition) : User type, user name with match accuracy (%), camera, occurrence time, the registered face image and cropped face image, and the event clip video.
- To continue analyzing the event with the recorded video, click [Playback] at the bottom (available for AI and FR events).The recorded video player opens for that camera. For details, see the Playback section.
Note
To close the window, click the [X] button at the top right or press the ESC key.
For AC events, video playback is available only when a “Linked Camera” is configured.